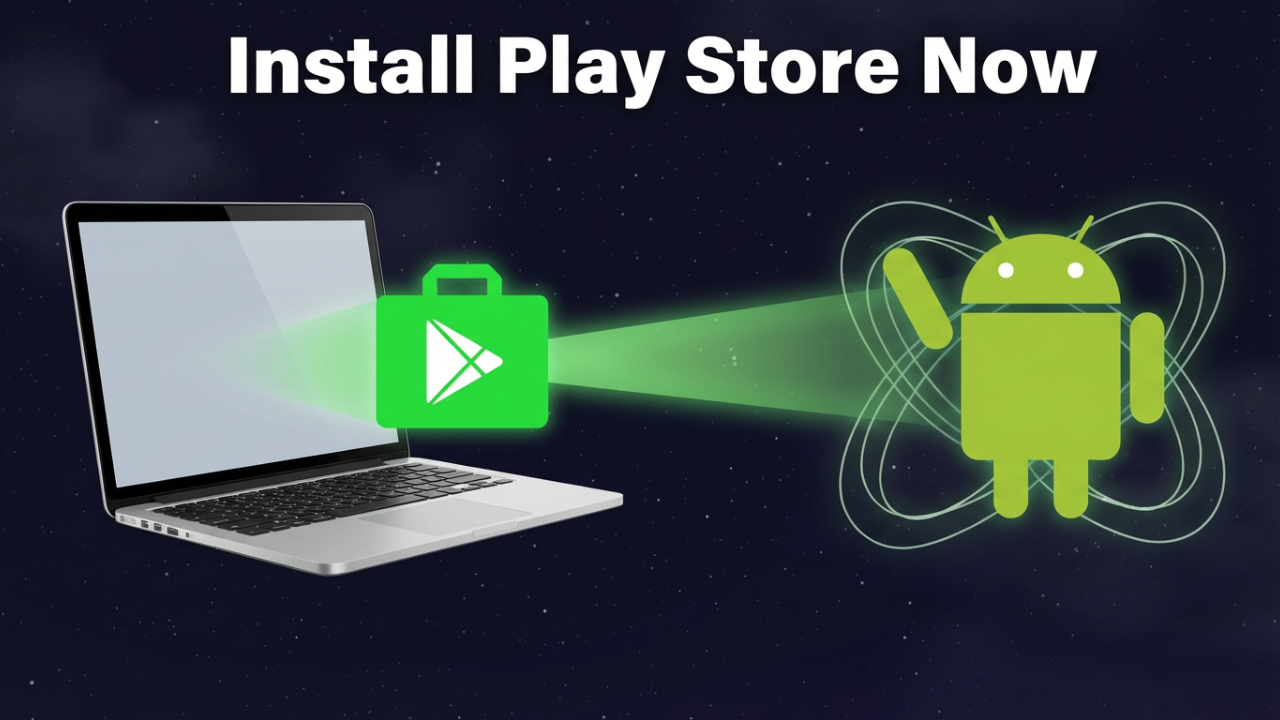
You’ve probably heard it’s impossible. For years, the story has been the same: getting the real, official Google Play Store onto your Windows or Mac laptop is a total pipe dream. You’ve been told to settle for clunky alternatives or just give up.
Well, that’s not the whole story. In fact, it’s not even close. The reality is getting every Android app and game you love running on your laptop isn’t just possible—it’s surprisingly straightforward. So, forget what you’ve been told. The wall between your laptop and the Play Store is about to disappear.
For the longest time, tech companies have kept their worlds separate. The Play Store was built for Android, and your laptop runs Windows or macOS. They speak completely different languages. Officially, there’s no “Play Store for PC” button to click. But what if there was a key? A piece of software that acts as a universal translator, building a perfect, virtual Android phone right inside your computer. This isn’t a sketchy hack or a watered-down experience. This is the full, unrestricted Google Play Store, and by the end of this article, you’re going to have it.
Section 1: The Core Problem & The Universal Solution
So, let’s get right to it: why is this even a problem? Why can’t you just download the Play Store like any other app? It all comes down to the architecture of your devices. Your laptop’s operating system (Windows or macOS) and the Android operating system are built on fundamentally different foundations. Apps written for one simply can’t run on the other.
This is where a clever bit of software comes in: an emulator.
The word “emulator” might sound technical, but the idea is simple. It’s a program that creates a virtual Android device—like a phone or tablet—that runs in a window on your desktop. It builds a self-contained sandbox where the Android OS can live and breathe, just like it would on a real phone. And if you can run Android, you can run any Android app, including the most important one of all: the Google Play Store.
Now, you might be thinking, “I’ve heard of emulators. Aren’t they slow, clunky, and full of ads?” A few years ago, you might have been right. But the technology has evolved like crazy. Modern emulators are fast, slick, and powerful, and one stands head and shoulders above the rest as the most trusted solution for millions of users: BlueStacks.
BlueStacks is a legitimate software company, backed by giants like Intel and AMD. It’s been the gold standard in Android emulation for over a decade, constantly refining its software. For 99% of you watching, whether you’re on a new gaming PC or an older MacBook, BlueStacks is the single best, safest, and easiest answer. It gives you the full, unfiltered Google Play experience with perfect keyboard and mouse support.
We’ll touch on a couple of other methods later, but they come with some serious drawbacks. For a simple, powerful, and universal method that just works, BlueStacks is the undisputed champ. So, let’s get it installed.

Section 2: The Step-by-Step BlueStacks Installation Guide (For Windows & Mac)
Alright, this is the main event. We’re going to walk through this together, step-by-step. Just follow along, and you’ll be browsing the Play Store on your laptop in no time.
First, a quick pre-flight check. Emulating an entire operating system takes some horsepower. You’ll need at least 4GB of RAM, but 8GB is what I’d really recommend for a smooth experience. You’ll also need a reasonably modern processor from Intel or AMD.
But the single most important thing is a feature called **Virtualization**.
Don’t let the word scare you. Virtualization is a standard feature in almost all modern CPUs. Think of it as a switch in your computer’s brain that allows it to run a virtual machine—like our Android emulator—super efficiently. Most new laptops have this turned on already, but sometimes it’s disabled in the computer’s core settings, known as the BIOS or UEFI.
Let’s check if it’s on. On Windows, this is easy. Press Ctrl+Shift+Esc to open Task Manager. Go to the ‘Performance’ tab and click ‘CPU’. On the right, look for “Virtualization.” If it says “Enabled,” you’re good to go. If it says “Disabled,” don’t worry, we just need to flip the switch.
To do that, you’ll need to restart your computer and enter the BIOS. You typically do this by pressing a key like F2, F10, or Delete right as it boots up—it depends on your manufacturer (Dell, HP, etc.). Inside the BIOS, look for a setting under a tab like ‘Advanced’ or ‘CPU Configuration’. It will be named something like “Intel Virtualization Technology” or “AMD-V.” Just switch it from ‘Disabled’ to ‘Enabled’, save your changes, and exit. Your computer will restart, and you’ll be ready. That’s the most technical part of this whole guide, I promise.
With virtualization ready, it’s time to download BlueStacks. Open your browser and go to the *only* place you should ever download it from: bluestacks.com. Seriously, only use the official website. Unofficial sites can bundle malware with the installer.
On the homepage, you’ll probably see BlueStacks 5 and BlueStacks 10. Here’s the simple difference:
* **BlueStacks 5** is the classic, high-performance emulator. It installs Android and all your apps directly onto your computer. This is the one I recommend for most people.
* **BlueStacks 10** is a hybrid-cloud version. It can stream some games directly from the cloud without a full install, which is neat for PCs with very limited storage. However, for the full app experience, it still relies on the same powerful BlueStacks 5 engine that comes with it.
For our purposes, let’s stick with the best. Click the download button for **BlueStacks 5**. The site will automatically detect if you’re on Windows or Mac and give you the right file.
Once downloaded, find the file in your Downloads folder and double-click it. When the installer window pops up, you’ll see a big “Install now” button. I always recommend clicking the “Customize installation” option first, just to see where it’s putting the files. By default, it goes on your C: drive. If you want to install it on a different drive to save space, you can change that here.
Once you’re ready, click “Install now.” The installer will download the main program files, which can take anywhere from 5 to 10 minutes depending on your internet speed. Just let it do its thing.
When it’s finished, BlueStacks will launch automatically. The first boot might take an extra minute as it sets up the virtual Android environment. What you see next will look a lot like an Android tablet’s home screen.
Now for the final step. On the home screen, you’ll see a “System Apps” folder. Click it. And there it is: the **Google Play Store** icon.
Click it.
Just like on a new phone, it will ask you to sign in with your Google Account. This is a safe and necessary step, as you’re signing into Google’s official service. If you’re privacy-conscious, you can always create a secondary Google account just for BlueStacks.
Enter your email and password, agree to the terms, and… boom. The Google Play Store loads right on your desktop. You did it.
From here, you can search for and install almost any app: Instagram, TikTok, Snapchat, you name it. The app icon will appear on your BlueStacks home screen. Click it, and it will launch right on your desktop, ready to use with your keyboard and mouse.
Section 3: For the Advanced User – The Windows “Native” Method (WSA)
Okay, for the 99% of you who followed the BlueStacks guide, you’re all set. But for the adventurous 1%—the tinkerers and power users—there’s another path. This method runs Android apps more “natively” on Windows, but let me be very clear: this is expert mode, and it comes with some serious warnings.
Let’s talk about the **Windows Subsystem for Android**, or **WSA**. When Windows 11 launched, Microsoft promised it would run Android apps via WSA. The catch? It didn’t come with the Google Play Store. It came with the Amazon Appstore, which was a huge letdown. The project never really took off, and Microsoft officially announced that all support for WSA would end on **March 5, 2025**. As of 2026, it’s officially deprecated and no longer offered in the Microsoft Store.
So, why are we talking about it? Because the open-source community stepped in. Developers created modified builds of WSA that do what Microsoft wouldn’t: they inject the Google Play Store directly into the subsystem.
This leads to our first huge warning: **This is an unofficial, community-driven method.** You are downloading and running packages from the internet that carry inherent security risks. It is absolutely critical that you only use trusted sources. The most respected project in this space is a GitHub repository called **WSABuilds by MustardChef**. Avoid random websites or YouTube tutorials promising an easy “.exe” installer—those are almost always malware.
Second warning: **This can be complex and unstable.** It requires enabling developer features and running command-line scripts. There’s no official support if things go wrong. If you’re not comfortable with terms like PowerShell or Administrator privileges, please stick with the simplicity of BlueStacks.
Still here? Alright, let’s go.
First, you have to prep your Windows environment. This is non-negotiable.
1. **Uninstall any old WSA:** If you ever installed the official Amazon Appstore, you must uninstall both “Windows Subsystem for Android” and the “Amazon Appstore” from your settings to prevent conflicts.
2. **Enable Core Virtualization Features:** Type “Turn Windows features on or off” in the Start Menu. In the window that pops up, make sure the boxes for **”Virtual Machine Platform”** and **”Windows Hypervisor Platform”** are both checked. Restart your computer.
3. **Enable Developer Mode:** Go to Settings > System > For Developers, and toggle “Developer Mode” to On.
Now, go to your browser and find the **WSABuilds GitHub page by MustardChef**. Go to the “Releases” section and find the latest stable version for your system (it will be marked for Windows 11 or 10). Make sure you download the version that includes “GApps” (Google Apps).
Once it’s downloaded, extract the folder to a **permanent location** on your computer, like `C:\WSA`. Don’t leave it in your Downloads folder, or the installation will break if you ever clean it out.
Open the extracted folder and look for a file named `Run.bat` or `Install.ps1`. Right-click on it and select **”Run as administrator.”** A command prompt will pop up and scroll with text as it installs the modified WSA. Let it finish.
When it’s done, open your Start Menu. You should see a new icon for the **Google Play Store**. Click it, sign in, and you’re in. The best part of this method is that any app you install appears right in your Start Menu and sends notifications to the Windows Action Center, making them feel like native PC apps.

Section 4: The “Official but Limited” Alternatives
While BlueStacks is the all-in-one solution and WSA is for experts, there are official, Google-sanctioned ways to get *some* Android functionality on your PC. These don’t give you the full Play Store, but they’re important to know about.
First, for gamers, there’s **Google Play Games for PC**.
This is an official app from Google that brings a curated list of popular Android games to Windows. You can download it directly from Google. It’s great for playing supported games like *Asphalt 9* or *Clash of Clans* on a bigger screen. The catch? It’s for **games only**. You can’t get social media or productivity apps here, and not every game is included. It’s a great service for what it is, but it’s not a replacement for the full Play Store.
Next, it’s worth a brief mention of the **Amazon Appstore**.
As we discussed, this was Microsoft’s original partner for Android apps on Windows 11. Since official support has ended, its app selection is tiny, and it lacks the Google services many apps need to function. In 2026, there’s very little reason to use it.
(Section 5: Final Comparison & Security Deep Dive)
So, let’s recap. You have three main paths in 2026:
1. **BlueStacks (The Recommended Method):** The easiest, safest, and most compatible way to get the full Google Play Store on Windows and Mac. It’s perfect for most users.
2. **Custom WSA (The Advanced Method):** Offers a beautifully integrated experience for Windows power users. But it relies on unofficial patches, is more complex, and carries higher security risks.
3. **Google Play Games (The Gaming-Only Method):** Google’s official, secure, but limited solution for playing certain Android games on PC.
A final, crucial word on security. For BlueStacks and Google Play Games, your job is simple: **only download them from their official websites.**
For the Custom WSA method, you have to be much more careful. The internet is filled with fake guides and malicious downloads. These fake packages can contain anything from adware to keyloggers. Your only defense is to use reputable, open-source projects with a long history of community trust, like the **WSABuilds project on GitHub** we talked about. If a random website offers you a single `.exe` file promising an easy, one-click install, you should assume it’s malicious and stay far, far away.
Conclusion
So there you have it. The myth is busted. Getting the full Google Play Store on any laptop is not only possible, it’s more accessible than ever—as long as you know the right tools. Whether you choose the simple power of an emulator or the native feel of a custom subsystem, the barrier between your laptop and millions of Android apps is officially gone. Go enjoy them.