

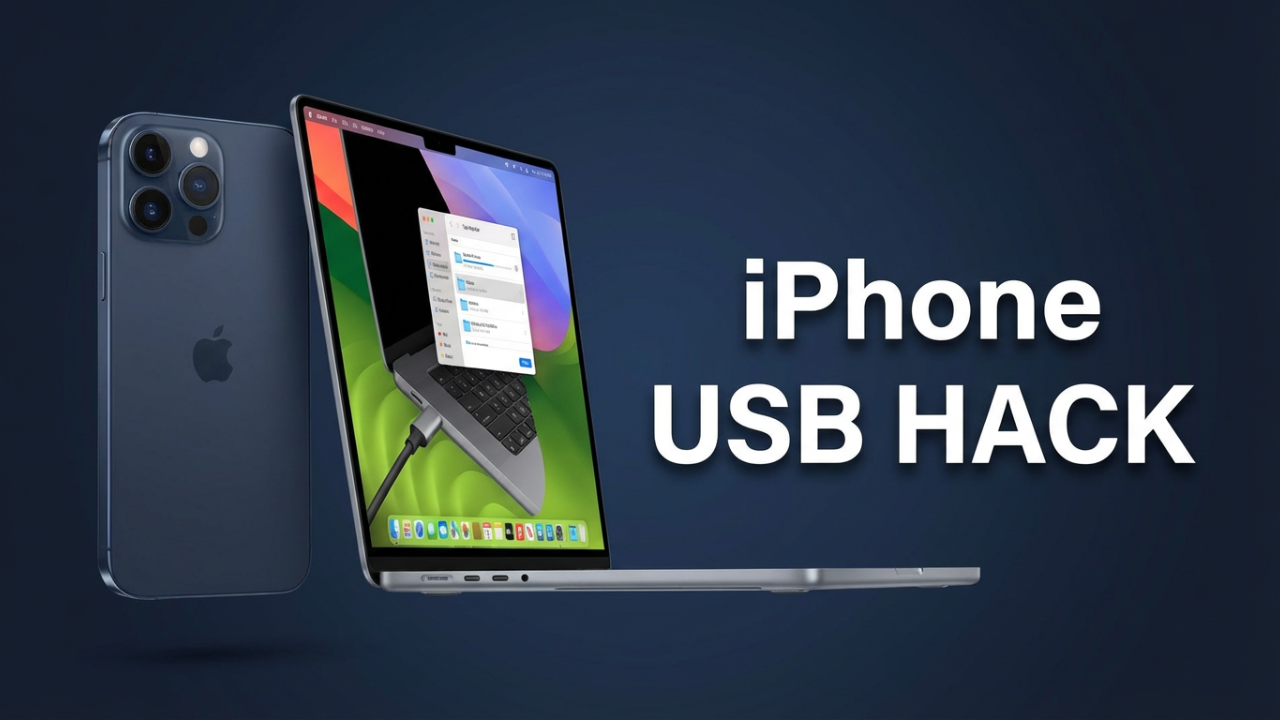
How To Access Your iPhone As A Laptop USB Port? You’ve been there, right? You plug your iPhone into your laptop, hoping for some seamless connection, but instead… you just get a charging icon. It’s a moment of pure frustration. But what if I told you that this simple USB cable is actually a key? A key that unlocks three powerful, almost secret, functions that will turn your iPhone into one of the most versatile tools your laptop has ever had.
Forget the dead end of that charging screen. I’m going to show you exactly how to transform this connection. We’re going to turn your iPhone into a high-speed, secure internet modem for your laptop. Then, we’ll turn it into a powerful external drive for managing photos, videos, and any other file you can imagine. And finally, I’ll show you the ultimate master function: how to use this same USB connection to diagnose and even fix your iPhone when things go wrong. These powerful features have been hiding in plain sight. Stick with me, and you’ll never look at your iPhone’s USB port the same way again.
Section 0: Before You Begin – The Universal First Step
Before we get to the three secret functions, we have to talk about the foundation. Getting any of this to work hinges on one critical, universal first step: the digital handshake between your iPhone and your computer. This is where most people fail, and it’s why they give up, thinking the USB port is only good for charging.
First, let’s talk about the most important popup you’ll ever see on your iPhone: “Trust This Computer”. When you connect your iPhone to a computer for the first time, your phone will show this security alert. Tapping “Trust” is essential—it creates a secure link that lets the computer access settings and data on your iPhone when it’s connected and unlocked. If you tap “Don’t Trust,” you’re telling your phone to block all data communication. It’ll charge, but that’s it. No files, no internet, nothing.
A common mistake is accidentally hitting “Don’t Trust.” If you’ve done this, you might notice the prompt never shows up again because your iPhone remembers that choice. To fix this, you need to reset that decision. On your iPhone, go to **Settings > General > Transfer or Reset iPhone > Reset**, and then select **”Reset Location & Privacy.”** This sounds scary, but it’s safe. It doesn’t erase your data or apps. It just resets your location permissions and, most importantly, erases the list of computers you’ve previously trusted or not trusted. The very next time you plug your iPhone into that same computer, the “Trust This Computer” alert will reappear, giving you a second chance.
Next up, the hardware. Let’s talk cables, because this is a massive point of failure. Not all cables are created equal. You have official Apple cables, MFi-certified (“Made for iPhone”) cables, and then the wild west of cheap, uncertified cables from discount bins. Many of those cheap cables are “charge-only.” They physically lack the internal wiring for data transfer. If you’re using one of them, no software trick in the world will make it work. To save yourself a world of headache, use the original cable or a reputable MFi-certified one.
Equally important is the USB port on your laptop. Especially on some Windows PCs, not all ports are the same. The ports on the front of a desktop tower or on a flimsy USB hub can be underpowered or unreliable. If you’re having connection issues, the very first thing you should try is plugging the cable directly into a different USB port, preferably one on the back of a desktop (connected to the motherboard) or on the other side of your laptop. And always make sure the port is clean; a little dust can easily block the data pins.
Finally, software. If you’re using a Mac, good news: everything you need is already built-in. When you plug in your iPhone, it’ll just show up in the Finder. For Windows users, it’s a different story. To communicate with an iPhone, Windows needs drivers that come packaged with Apple’s software. Historically, this was iTunes. Now, you need either iTunes or its modern replacement, the **”Apple Devices”** app, installed. You can get them for free from the Microsoft Store. Even if you never open the app, you need it installed because it also installs the “Apple Mobile Device Support” service and the drivers that let Windows know what an iPhone is.
And the simplest rule of all: make sure your iPhone is unlocked when you plug it in. The “Trust” prompt and data connection won’t happen on a locked screen. Get these four things right, and you’ve built the foundation for everything else.

Section 1: The First Secret – Your iPhone as a High-Speed Internet Modem (USB Tethering)
Picture this: you’re at a hotel with painfully slow Wi-Fi, a coffee shop with a sketchy public network, or your home internet just went out. Your iPhone holds the key to a fast, stable, and secure internet connection for your laptop. This is the first secret function of your USB port: USB tethering.
Many people know about the Wi-Fi Personal Hotspot, but that drains your iPhone’s battery like crazy. USB tethering solves this by creating a direct, wired link that’s more stable and actually charges your iPhone while you use it.
Let’s walk through setting it up, starting with a Windows PC.
First, on your iPhone, enable the Personal Hotspot. Go to **Settings > Cellular** (or Mobile Data) **> Personal Hotspot**. Now, turn on the main toggle switch for **”Allow Others to Join.”** That’s the most important part. Once it’s on, your iPhone is ready to share its connection.
Now, over on your Windows PC—with iTunes or the Apple Devices app installed—connect your iPhone with your data cable. Because you’ve already handled the “Trust this Computer” prompt, Windows should recognize it. With the hotspot enabled on your phone, Windows automatically detects it as a network adapter. You’ll likely see the Wi-Fi icon in your system tray change to a wired/Ethernet icon. To be sure, go to **Windows Settings > Network & Internet**. You should see a connection listed, probably named “Ethernet 2” or “Apple Mobile Device Ethernet,” and it should say “Connected.” That’s it! Your PC is now securely online using your iPhone’s data.
What if you’re on a Mac? The process is even slicker. First, enable the Personal Hotspot on your iPhone just like before. Next, connect your iPhone to your Mac via USB. In your Mac’s **System Settings > Network**, a new option will appear: **”iPhone USB.”** It should have a green dot and say “Connected.” As soon as you see that green dot, your Mac is online.
The biggest pros of USB tethering are speed and security. A wired connection almost always has lower latency and is more stable than Wi-Fi. It’s also more secure since your data is in a physical cable, not broadcast through the air. The main “con” is that it uses your cellular data, so keep an eye on your mobile plan’s hotspot allowance. You can track this on your iPhone under **Settings > Cellular**; just scroll down to see how much data “Personal Hotspot” has used.
So what do you do if it doesn’t work? On Windows, it’s almost always a driver issue. A simple restart of both devices often works. If not, you might need to go into the Device Manager and manually update the “Apple Mobile Device Ethernet” driver. Resetting your iPhone’s network settings can also resolve stubborn connection issues.
Section 2: The Second Secret – Your iPhone as an External Hard Drive (File Transfer)
This is the big one. Getting files, especially photos and videos, off your phone is a common headache. People resort to emailing files to themselves or using clunky cloud services. But your USB cable is the most direct and powerful tool for the job. We’ll break this down into a simple method for photos and a power-user method for everything else.
Let’s start with **Method A: The Easiest Way for Photos and Videos.**
For Windows users, connect your unlocked iPhone and tap “Trust.” Now, open File Explorer—the yellow folder icon. On the left, click **”This PC.”** You should see a new icon for **”Apple iPhone.”** Double-click it, then open **”Internal Storage,”** and then the **”DCIM”** folder. “DCIM” stands for Digital Camera Images, and it’s where your iPhone stores all its photos and videos. Inside, you’ll see more folders. You can browse them or use the search bar to find what you need. Then, just click and drag the files to your desktop. Pro tip: always *copy*, don’t *cut*. Dragging creates a safe copy, leaving the originals on your phone.
For Mac users, the process is even more integrated. Connect your unlocked iPhone. The built-in **”Photos”** app will often launch automatically. If not, open it. In the sidebar under “Devices,” click on your iPhone. The main window will show all the new photos and videos. You can click “Import All New Items” or select them individually. Be very careful with the “Delete items after import” checkbox. I’d leave it unchecked until you’re comfortable with the process. Click “Import,” and the files transfer right into your Mac’s photo library.
Now, what about PDFs, documents, or other files? For this, we need **Method B: The Power User Way with File Sharing.**
This feature is built into the Finder on macOS and the Apple Devices app (or iTunes) on Windows. It lets you move files directly into the storage of specific apps on your iPhone.
Connect your iPhone. On a Mac, open Finder and select your iPhone in the sidebar. On a Windows PC, open the Apple Devices app and click on your iPhone. Look for a tab labeled **”Files.”** Click it. You’ll see a list of every app on your phone that supports File Sharing—apps like VLC, Adobe Acrobat, or Pages.
To get a file *from* your iPhone, click an app in the list, like VLC. You’ll see all the files stored inside that app. Just drag a file from that window to your desktop. To put a file *onto* your iPhone, do the reverse. Select an app, then drag a file from your computer and drop it into that app’s document list. It’s an incredibly powerful way to load movies for a flight or carry important documents.
A quick troubleshooting tip for Windows: you might run into Apple’s modern HEIC (photo) and HEVC (video) formats, which Windows doesn’t support natively. You might transfer a photo and find you can’t open it. The fix is simple: go to the Microsoft Store and install “HEIF Image Extensions” and “HEVC Video Extensions.” Alternatively, you can change your iPhone’s camera settings to capture in a more compatible format. Go to **Settings > Camera > Formats** and switch from “High Efficiency” to “Most Compatible.”

Section 3: The Third “Secret” – The Master Connection & Diagnostics
We’ve covered internet and files. But what happens when your computer refuses to see your iPhone at all? This brings us to the third secret: the USB port’s role as the master connection for diagnostics and repair.
When the digital handshake fails, the USB connection is the only tool you have to force it. For Windows users with a stubborn connection, you can manually force a driver re-installation. Connect your iPhone and open the **Device Manager** (right-click the Start button to find it). Look under “Portable Devices” or “Universal Serial Bus controllers” for “Apple iPhone,” especially if it has a yellow exclamation mark. Right-click it, choose **”Update driver,”** then “Browse my computer for drivers,” and “Let me pick from a list.” Select the compatible driver and click Next. This forces Windows to reinstall the correct driver file. In extreme cases, you might have to point it to the driver folder, usually at `C:\Program Files\Common Files\Apple\Mobile Device Support\Drivers`.
But what if your iPhone is stuck on the Apple logo or completely unresponsive? This is where the USB connection becomes a true lifeline through **Recovery Mode.**
Recovery Mode is a low-level diagnostic state that allows the iPhone to communicate with a computer even if the main OS is broken. **CRITICAL WARNING:** Using the “Restore” function in Recovery Mode will erase all the data on your iPhone. Always consider this a last resort.
To enter Recovery Mode on a modern iPhone (8 or newer), connect it to your computer. Then, on the iPhone: quickly press and release **Volume Up**, quickly press and release **Volume Down**, then **press and hold the Side button**. Keep holding the Side button, even when you see the Apple logo. Don’t let go until you see a screen showing a cable pointing towards a computer icon.
Once in this mode, your computer will show a message with two options: “Update” or “Restore.” ALWAYS choose **”Update”** first. This attempts to reinstall iOS without erasing your data, which can often fix software glitches. If “Update” fails or doesn’t solve the problem, then “Restore” is your final option. It will completely erase the iPhone and install a fresh copy of iOS, after which you can set it up as new or restore from a backup.
Conclusion
So, let’s recap. That simple USB port is a gateway to three powerful functions. We’ve unlocked it as a high-speed internet modem through USB tethering. We’ve turned it into a versatile external drive for easy access to your photos and files. And we’ve revealed its most critical role as a master diagnostic connection, allowing you to repair your iPhone’s software when all else fails.
For most people, just knowing how to quickly grab photos and turn on USB tethering in an emergency will be a complete game-changer. These aren’t hacks; they’re built-in features designed to make your devices work better together.
Thanks for sticking with me. Let me know in the comments which of these three functions you’re going to use first. Or, if you have another tech problem you’re struggling with, drop it below, and I might cover it in a future video.
If this video helped you out, make sure to subscribe and hit the bell so you don’t miss the next guide. See you in the next one.


