

Ever tried to show your friends a funny video, but everyone’s huddled around your tiny phone, squinting to see? Or maybe you’re in a meeting and need to demo a mobile app, but passing your phone around is just clumsy. We’ve all been there, and it’s frustrating trying to share something on a screen that’s just too small.
What if you could pop whatever is on your phone right onto your laptop’s bigger screen, instantly, so everyone can see it clearly?
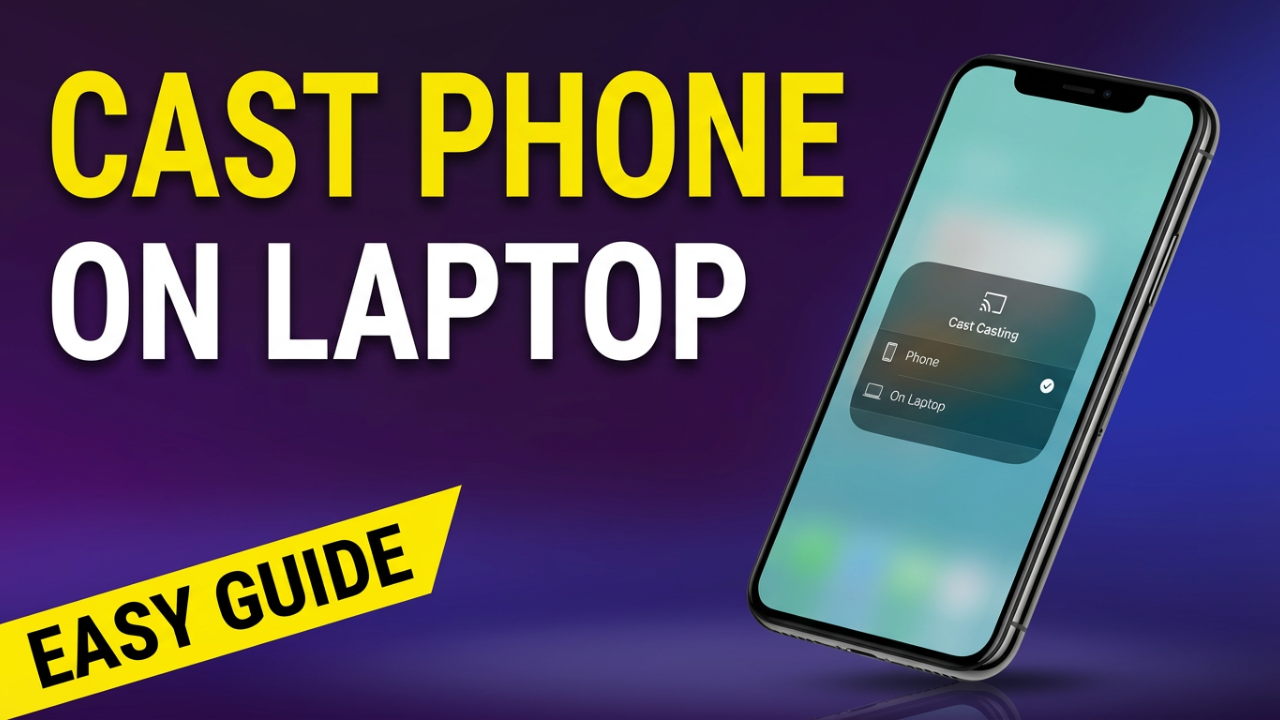
In this guide, I’m going to show you simple, free ways to cast or mirror your phone screen onto any laptop. That’s right—whether you have an Android or an iPhone, a Windows laptop or a Mac. We’re going to make that tiny screen big enough for everyone.
And the best part? You probably don’t need to install extra apps or buy special cables. The features you need are often already built right into your devices. We’re going to walk through everything step-by-step, covering every combination from the easiest built-in tools to some great free apps for the trickier setups.

ILIPUTER- International Computer Manufacturing Co.
Section 1: The Basics – How This All Works
Before we jump into the steps, let’s quickly cover what’s happening behind the scenes. This will make it much easier to fix things if you ever hit a snag. We’re talking about “Screen Mirroring” and “Screen Casting,” which for our purposes today, both do the same thing: get your phone’s display onto your laptop.
This works in one of two ways: wirelessly or with a cable.
First, wireless. This is the easiest method, and it works by sending your phone’s screen to your laptop over your local Wi-Fi network. The two main technologies for this are **Miracast**, used by most Android phones and Windows PCs, and **AirPlay**, which is Apple’s system for iPhones and Macs. The golden rule for wireless casting is that **both your phone and laptop must be connected to the exact same Wi-Fi network**. If they’re on different networks, they can’t see each other.
The big pro of wireless is freedom—no cables. The only potential con is lag. If your Wi-Fi is slow, you might see a slight delay. It’s usually fine for videos, but maybe not for fast-paced games.
Second is the wired method, using a standard USB cable. This is your best bet when there’s no Wi-Fi, the network is slow, or you need a rock-solid, zero-lag connection. The pro is performance—it’s incredibly fast. The con is that you’re tethered to your laptop. This method sometimes requires enabling a special “USB Debugging” mode on your phone, which we’ll cover.
So, to recap: Wireless is convenient, but needs good Wi-Fi. Wired is fast and reliable, but you’re stuck next to your laptop. Let’s get into it.
Section 2: The Most Common Combo: Android to Windows
Let’s start with what most people have: an Android phone and a Windows 10 or 11 laptop. If this is you, the news is great. Windows has a built-in feature called “Wireless Display” that uses Miracast, and it’s designed to do exactly this for free.
**Method 1: The Built-in “Wireless Display” Feature**
Our goal is to make your laptop a wireless receiver that your Android phone can find.
**Part A: Setting Up Your Windows Laptop**
First, let’s get your laptop ready. Click the Start Menu and type **”Projecting to this PC.”** Click on it when it appears.
If the options you see are greyed out with red text saying “This device doesn’t support receiving Miracast,” don’t worry! This is a super common and easy fix. Just below that message, click the blue text that says **”Optional features.”** On the new screen, click **”Add a feature”** or **”View features,”** search for **”Wireless Display,”** check the box, and click **”Install.”** Windows will download it in a minute or two.
Once it’s installed, go back to the “Projecting to this PC” settings. The options should now be active.
* For the first dropdown, choose **”Available everywhere”** for home use.
* For the second, I recommend **”First time only”** so you only have to approve the connection once.
* For the third, requiring a PIN **”First Time”** is a good idea for extra security.
Finally, click the blue link at the top that says **”Launch the Connect app to project to this PC.”** A blue screen with your laptop’s name will appear. Your laptop is now ready.
**Part B: Connecting From Your Android Phone**
Now, grab your Android phone. The feature you’re looking for might be called **Cast**, **Smart View** (on Samsung), **Screen Mirroring**, or something similar.
Swipe down from the top of your screen to open the Quick Settings panel (where Wi-Fi and Bluetooth are). Look for an icon that looks like a screen with a Wi-Fi symbol. If you don’t see it, swipe to see more icons or tap the “Edit” button to find and add it.
Tap the icon. Your phone will scan for devices. After a few seconds, the name of your laptop should pop up. Tap it. If you set a PIN, an code will appear on your laptop; enter that on your phone.
And that’s it! Your phone’s screen will appear in the Connect app window on your laptop. Audio will play through your laptop’s speakers, and on many devices, you can even use your laptop’s mouse and keyboard to control your phone.
**Method 2: For Samsung and newer Windows Users – The “Phone Link” App**
If you have a modern Samsung phone (or certain HONOR or OnePlus models) and a Windows 11 PC, the **Phone Link** app is an even better way to go. This app comes pre-installed on Windows and works with the “Link to Windows” feature on your phone.
Open the Start Menu on your PC, search for “Phone Link,” and open it. It’ll walk you through pairing your phone, usually by scanning a QR code.
Once paired, the Phone Link app lets you see notifications, messages, and photos. On the left-hand side, click the **”Phone screen”** tab. A window will pop up showing your phone’s screen, giving you full control with your mouse and keyboard. It’s an incredibly smooth experience designed by Microsoft and Samsung to work perfectly together.
**Method 3: The Wired “No-Lag” Method – Scrcpy**
If your Wi-Fi is slow or you need a perfect, zero-latency connection for gaming or development, the ultimate tool is a free program called **Scrcpy** (short for “screen copy”). It uses a USB cable and is a favorite among tech enthusiasts for its performance.
This one’s a bit more technical, but it’s worth it.
First, you need to enable **”USB Debugging”** on your Android phone. Go to **Settings > About Phone** and find the **Build Number**. Tap on “Build Number” seven times in a row. You’ll see a countdown and a message saying, “You are now a developer!”
Go back to the main Settings menu, and you’ll find a new **Developer Options** menu. Open it, scroll down to find **USB Debugging**, and turn it on. Tap “OK” on the warning.
Next, on your PC, search for “Scrcpy GitHub” and go to the official page. Download the latest zip file for Windows and unzip it to a folder on your desktop.
Now, connect your phone to your PC with a good USB cable. A prompt will appear on your phone asking to “Allow USB debugging.” Check the box to “Always allow from this computer” and tap “Allow.”
Finally, open the Scrcpy folder and double-click the `scrcpy.exe` file. A window will pop up, perfectly mirroring your phone with incredible speed and clarity. You get full mouse and keyboard control, making it fast enough for gaming.

ILIPUTER- International Computer Manufacturing Co.
Section 3: For the Apple Fans: iPhone to Windows
Mirroring an iPhone to a Windows laptop is a bit trickier because Windows doesn’t natively support Apple’s AirPlay technology. This means we have to use a third-party app on the Windows PC, but there are some excellent free options.
Remember the golden rule: both your iPhone and Windows PC must be on the same Wi-Fi network.
**Method 1: The Free AirPlay Receiver App**
The simplest way to do this is with a program that turns your Windows laptop into an AirPlay receiver. A popular tool is **LonelyScreen**.
On your PC, search for “LonelyScreen download,” go to their official site, and install it. During installation, your firewall might ask for permission; you must click **”Allow access”** for it to work.
Run LonelyScreen. A simple window will appear. Your PC is now acting as an AirPlay screen. The free version has limitations and will periodically ask you to subscribe, but you can click “Maybe Later” to continue.
Now, grab your iPhone. Swipe down from the top-right corner to open the **Control Center**. Tap the **Screen Mirroring** button (two overlapping rectangles). You should see “LonelyScreen” in the list. Tap it. Your iPhone’s screen will appear in the LonelyScreen window. The free version is for viewing only, but it’s perfect for presentations or watching videos.
An alternative is **5KPlayer**, which also has a free AirPlay receiver function, but the free version may show some ads.
**Method 2: The Cross-Platform Solution (AirDroid Cast)**
Another fantastic tool is **AirDroid Cast**, which works across almost every device combination.
You’ll need to download the AirDroid Cast app on both your Windows PC and your iPhone. Open the app on both devices. On your PC, it will show a large QR code. On your iPhone, tap the “Scan” button and point it at the QR code.
The free version provides excellent wireless mirroring over your local Wi-Fi. Advanced features, like controlling the iPhone from your PC or casting over different networks, require a premium plan.
**Method 3: A Stable Wired Option**
If your Wi-Fi is unreliable, you’ll need a wired connection. Unlike the free Scrcpy for Android, there isn’t one universally-loved free tool for this. However, apps like **AnyMiro** or the USB function within **AirDroid Cast** can get the job done.
Typically, you’ll install the software on your PC, connect your iPhone with its cable, and tap “Trust” on the prompt that appears on your phone. These apps then use the wired connection to transmit the screen data.
Section 4: The Reverse Scenario: Android to Mac
What if you have an Android phone and a MacBook? Just like Windows, macOS doesn’t understand Android’s Miracast, so we’ll need third-party tools.
**Method 1: The Cross-Platform Wireless Apps (AirDroid Cast / LetsView)**
Apps like **AirDroid Cast** and **LetsView** are the champions here. The process for AirDroid Cast is the same as before: install the app on both your Mac and Android phone, make sure they’re on the same Wi-Fi, and scan the QR code to connect.
**LetsView** is another excellent and completely free alternative that works in a similar way. You install it on both devices, connect to the same Wi-Fi, and use a QR code or PIN to connect. It’s known for being very responsive and even includes screen recording and annotation tools.
**Method 2: The Advanced Wired Method (Scrcpy for Mac)**
For power users, the amazing Scrcpy tool is also available for Mac. It provides the same blazing-fast, low-latency mirroring over a USB cable, with full mouse and keyboard control.
The setup is a bit more involved, as it usually requires a command-line tool called Homebrew. If you’re comfortable with the Terminal app, search for a guide on how to “install scrcpy on Mac with Homebrew.” Once installed, you enable USB debugging on your phone, connect it, and run a simple command to launch it. It’s the highest-performance option available.
Section 5: The Easiest of All: iPhone to Mac
Finally, we have the most seamless pairing: an iPhone and a Mac. When you stay inside the Apple ecosystem, things just work. No third-party apps are needed.
**Method 1: Native AirPlay Screen Mirroring (Wireless)**
Modern iPhones and Macs are designed to do this effortlessly with AirPlay. Just make sure both devices are on the same Wi-Fi network and signed into the same Apple ID.
Your Mac is already an AirPlay receiver by default. You can check this in **System Settings > General > AirDrop & Handoff** and make sure “AirPlay Receiver” is on.
Now, pick up your iPhone, swipe down from the top-right to open the **Control Center**, and tap the **Screen Mirroring** button. You should see your Mac listed by name. Tap on it. A four-digit code might appear on your Mac’s screen; just enter that on your iPhone. That’s it! Your iPhone screen is now wirelessly mirrored to your Mac.
With macOS Sequoia and iOS 18, this has been upgraded to **”iPhone Mirroring,”** which not only shows your screen but gives you full control of your iPhone from your Mac with your trackpad and keyboard. You can even drag and drop files between them.
**Method 2: The Wired Backup – QuickTime Player**
If your Wi-Fi is acting up or you need to do a high-quality screen recording, your Mac’s built-in **QuickTime Player** is the perfect tool.
Connect your iPhone to your Mac with its charging cable. Open **QuickTime Player**. Go to the menu bar and click **File > New Movie Recording**.
A window will appear, likely showing your webcam. Next to the red record button, click the small arrow. In the menu, select your iPhone as the camera source. Your iPhone’s screen will instantly appear, lag-free.
Section 6: General Troubleshooting & Pro Tips
Even with the right tools, you can hit a snag. Here’s how to fix the most common issues.
**Problem 1: “I can’t see my laptop/Mac on my phone!”**
This is the #1 issue, and 99% of the time, the fix is simple.
* **The Golden Rule:** Both devices **MUST** be on the exact same Wi-Fi network. Check that your phone isn’t on “MyWifi_5GHz” while your laptop is on “MyWifi_2.4GHz.” They have to match.
* **Check Your Firewall:** On Windows, your security software might be blocking the connection. If you get a firewall prompt when launching a receiver app, make sure to allow it.
* **The Classic Reboot:** When in doubt, restart everything: your phone, your laptop, and your Wi-Fi router.
**Problem 2: “It’s connected, but it’s super laggy!”**
* **Get Closer:** Move your devices closer to your Wi-Fi router for a stronger signal.
* **Use the 5GHz Band:** If your router has both 2.4GHz and 5GHz bands, connect both devices to the 5GHz network. It’s generally faster and less crowded.
* **Go Wired:** If wireless lag just won’t go away, use a wired method like Scrcpy or QuickTime for a guaranteed lag-free connection.
**Problem 3: “My phone’s battery is draining really fast!”**
That’s normal. Encoding and broadcasting your screen over Wi-Fi is a very intensive task. The solution is simple: keep your phone plugged into a charger while you’re casting.
**Problem 4: “The screen aspect ratio looks weird.”**
Try rotating your phone to landscape mode (sideways). The mirrored display should also rotate to fill more of the screen, which is perfect for videos.
Conclusion
And there you have it! A complete guide to casting any phone screen to any laptop. As you can see, for nearly every situation, there’s a straightforward and free way to share your content on a bigger screen.


