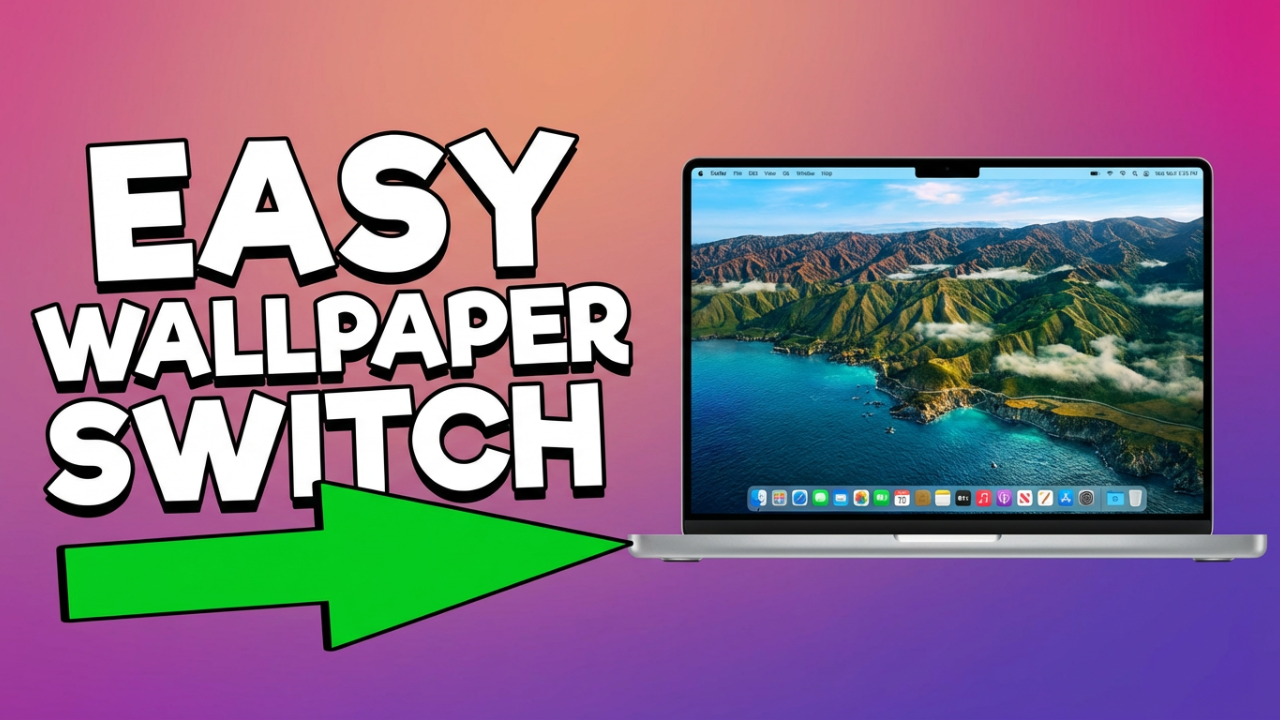
Tired of staring at the same old default background on your laptop? You see it every single day, but a world of vibrant and personal images is just a few clicks away. That screen is your space, so why not make it feel that way? Many people just stick with the default because they think changing it is complicated, but it’s actually one of the easiest ways to customize your computer.
I’m going to show you the super-simple, step-by-step methods to change your laptop’s wallpaper, whether you’re on a Windows machine, a Mac, or a Chromebook. We’ll cover the quickest tricks to get a new image on your screen, and then we’ll get into the settings to create personalized slideshows, use dynamic wallpapers, and fix any problems that might pop up. No matter how tech-savvy you are, you’ll be a pro at this by the end. Let’s give your laptop the fresh look it deserves.

ILIPUTER- International Computer Manufacturing Co.
Section 1: How to Change Your Wallpaper on Windows
First up, Windows. Whether you’re running Windows 11 or a recent version of Windows 10, the process is incredibly straightforward and gives you a lot of flexibility. We’ll start with the absolute fastest method and then explore the other settings.
The quickest way to change your wallpaper on Windows is a trick that’s been around forever. It just takes a right-click. First, find an image you want to use—it can be a photo you took or one you saved from the internet. Just find the image file in your File Explorer. Once you’ve got it, simply right-click on the file. A menu will pop up, and one of the options will be “Set as desktop background.” Click that, and boom, your wallpaper is instantly updated. It’s a beautifully simple trick for a quick change.
For more control, though, you’ll want to head into the main Windows Settings. The easiest way there is to find an empty spot on your desktop, right-click, and choose “Personalize” from the menu. This takes you right where you need to go. You can also get there by clicking the Start button, going to Settings, and then choosing Personalization.
Once you’re in the Personalization menu, click on “Background.” This is your command center for everything wallpaper-related. At the top, you’ll see a dropdown menu labeled “Personalize your background,” and this is where the fun begins. You’ll typically find three main options here: Picture, Solid color, and Slideshow. On many systems, you may also see “Windows Spotlight.” Let’s break down what they do.
“Picture” is the most common option. It lets you set a single, static image as your background. Windows will show you a few recent images you’ve used, and you can just click one to apply it. To pick a new image, click the “Browse photos” button, find the picture you want, and it’s set.
But what if the picture doesn’t fit your screen perfectly? That’s where the “Choose a fit for your desktop image” menu comes in. “Fill” usually works best, as it stretches or crops the image to fill the screen without looking weird. “Fit” will show the whole image but might leave black bars if the shape is different from your screen. “Stretch” will force the image to fill the screen, but it can distort it. “Tile” is great for small patterns, as it repeats the image, while “Center” just plops it in the middle. Finally, “Span” is a cool option for multiple monitors that stretches one wide image across all your screens. Play around with these to get your picture looking just right.
Next up is “Solid color.” This one is as simple as it sounds. If you prefer a clean, minimalist look, you can pick any solid color for your background. This is great for productivity because it makes your desktop icons and text really easy to see.
The third option, “Slideshow,” is one of the best for personalization. It lets you pick a whole folder of pictures and have your wallpaper automatically change on a schedule. Just select “Slideshow,” click “Browse,” and choose the folder with all your pictures. Then you can decide how often the picture changes, from every minute to once a day. You can also turn on “Shuffle” to mix up the order. A key setting for laptop users is “Let slideshow run even if I’m on battery power.” Windows usually pauses the slideshow to save battery, so if you want it to keep going, you’ll need to enable this.
Finally, if you see the “Windows Spotlight” option, give it a try. It’s a dynamic feature that automatically downloads and displays a new, often stunning, photograph from Microsoft each day. If you enjoy a daily dose of beautiful scenery without lifting a finger, Spotlight is an excellent choice.
Got more than one monitor? Windows has a neat trick for you. When you’re in the “Picture” mode, right-click on any of the thumbnails under “Recent images.” A menu will pop up allowing you to “Set for monitor 1” or “Set for monitor 2.” This lets you create a really cool, customized workspace. If you’re not sure which monitor is which, just go to `Settings > System > Display` and click “Identify.”
So, what if you try to change your wallpaper and it doesn’t work? A few things could be going on. If you’re using a work or school laptop, the IT department might have locked this feature. Another common issue is a setting in the Ease of Access Center; search for the Control Panel, go to “Ease of Access,” and make sure the box for “Remove background images” is unchecked. Lastly, some third-party customization tools can take over, so check their settings if you have any installed.

ILIPUTER- International Computer Manufacturing Co.
Section 2: How to Change Your Wallpaper on macOS
Alright, Mac users, it’s your turn. Customizing your desktop on a MacBook or an iMac is just as straightforward, and it comes with some unique features like Apple’s “Dynamic Wallpapers.”
The fastest way to change your wallpaper is to simply find an image you like—in a Finder window or even on a website. Right-click on it (or Control-click) and select “Set Desktop Picture.” Just like that, your Mac applies the image as your new background. It’s perfect for a quick change.
For all your options, you’ll want to go to System Settings. You can get there by right-clicking an empty area of your desktop and choosing “Change Wallpaper,” or by clicking the Apple logo in the top-left corner of the screen and going to `System Settings > Wallpaper`.
Inside the Wallpaper settings, you’ll see a beautiful layout of all of Apple’s built-in choices. One of the coolest features is “Dynamic Wallpapers.” These aren’t just single images; they’re a series of photos that change throughout the day to match the time where you are. A desert landscape might be bright and sunny during the day, shift to a warm gold at sunset, and then turn into a cool, dark night scene.
In recent versions of macOS, you’ll also find stunning, slow-motion aerial wallpapers of landscapes, cities, and underwater scenes. While they play as full videos on your lock screen, they become beautiful, high-quality still images or very subtly animated pictures on your actual desktop. It’s a really cinematic touch.
Of course, the best personalization comes from using your own photos. In the Wallpaper settings, look for “Add Photo” or “Add Folder.” This lets you pick a single image or an entire folder of your favorites. Your Photos app is also integrated right in, so you can easily access your albums and turn a cherished memory into a background.
If you want to create a slideshow, it’s simple. After adding a folder or selecting a photo album, look for the rotation or shuffle options at the top. On recent macOS versions, this is usually a “Change picture” dropdown menu where you can set a time interval, along with a “Randomly” checkbox. The exact wording might change slightly between OS versions, but the function is the same.
For those with multiple monitors, macOS handles this beautifully. At the top of the Wallpaper settings, you’ll see a preview of each display. Just click the monitor you want to change, and then select a new wallpaper for it.
Running into trouble? One common issue on Macs is the wallpaper changing back after a restart. This can sometimes be caused by iCloud’s “Desktop & Documents” sync feature trying to keep your Macs alike. Another cause could be a “login item” that’s set to change the wallpaper when you start up; you can check for this in `System Settings > General > Login Items`. And if it’s a school or work Mac, your IT department might have set a policy that restricts changes.
Section 3: How to Change Your Wallpaper on a Chromebook
Finally, let’s talk about Chromebooks. These devices are all about being fast and simple, and changing your wallpaper is no different. The process is clean, easy, and deeply connected to the Google ecosystem.
The quickest way to get started is to use two fingers to tap anywhere on an empty spot on your desktop. A small menu will pop up; from there, select “Set wallpaper & style.” This opens the main hub for all your customization options.
Inside, click on the large “Wallpaper” thumbnail. Google provides a ton of beautiful, curated wallpaper collections like “Landscapes,” “Art,” and “Cityscapes.” Just click a category, find an image you like, and click it to instantly set it as your background.
A fantastic feature here is the “Change Daily” toggle you’ll see at the top of a collection. Turn this on, and your Chromebook will automatically pick a new wallpaper from that category for you every day. It’s a zero-effort way to keep things fresh.
The real power on a Chromebook comes from using your own images through Google Photos. In the Wallpaper app, you’ll see an option for “My Images” or a direct link to “Google Photos.” This lets you browse your entire photo library and albums. You can pick an album—maybe one full of family pictures or vacation shots—and set it as a rotating background that pulls a new photo from it each day.
If you have a picture saved locally on your Chromebook in the “Files” app, you can use that too. The “My Images” section will show pictures from your “Downloads” folder. Or, you can just open the Files app, find your picture, right-click it (or two-finger tap), and select “Set as wallpaper.”
Some versions of ChromeOS also let you have a different look for your lock screen and your desktop. When you’re in the settings, keep an eye out for an option to apply your choice to one or the other, though the exact prompt can vary.
Troubleshooting on a Chromebook is usually simple. If an image isn’t showing up as an option, make sure it’s either in your local “Downloads” folder or synced to your Google Photos account. If you’re on a school or work-managed device, your administrator may have disabled this feature. Also, if you’re using Guest Mode, personalization options won’t be available.
Universal Pro-Tip
Okay, before we wrap up, here are a few tips that apply no matter what laptop you’re using.
First, think about resolution. For a sharp-looking background, try to find an image that’s at least as big as your screen’s resolution. If you have a Full HD display (1920×1080), using a tiny image will just look blurry and pixelated. There are lots of great websites out there dedicated to high-resolution, free wallpapers.
Second, consider battery life. Dynamic wallpapers and frequent slideshows use a bit more power than a simple, static image. If you’re trying to squeeze every last minute out of your battery, consider switching to a static picture or setting your slideshow to change less often.
Finally, think about readability. Your desktop is supposed to be functional. If you choose a really “busy” or bright wallpaper, it can make your icons and file names hard to read. If you find yourself squinting, you might want a wallpaper with a more subtle pattern or a darker tone.
Conclusion
And there you have it! Now you know how to break free from the default background on pretty much any laptop. From a quick right-click to a fully customized slideshow, you have all the tools you need. It’s a simple tweak, but it can make a huge difference in how you feel when you open your laptop.