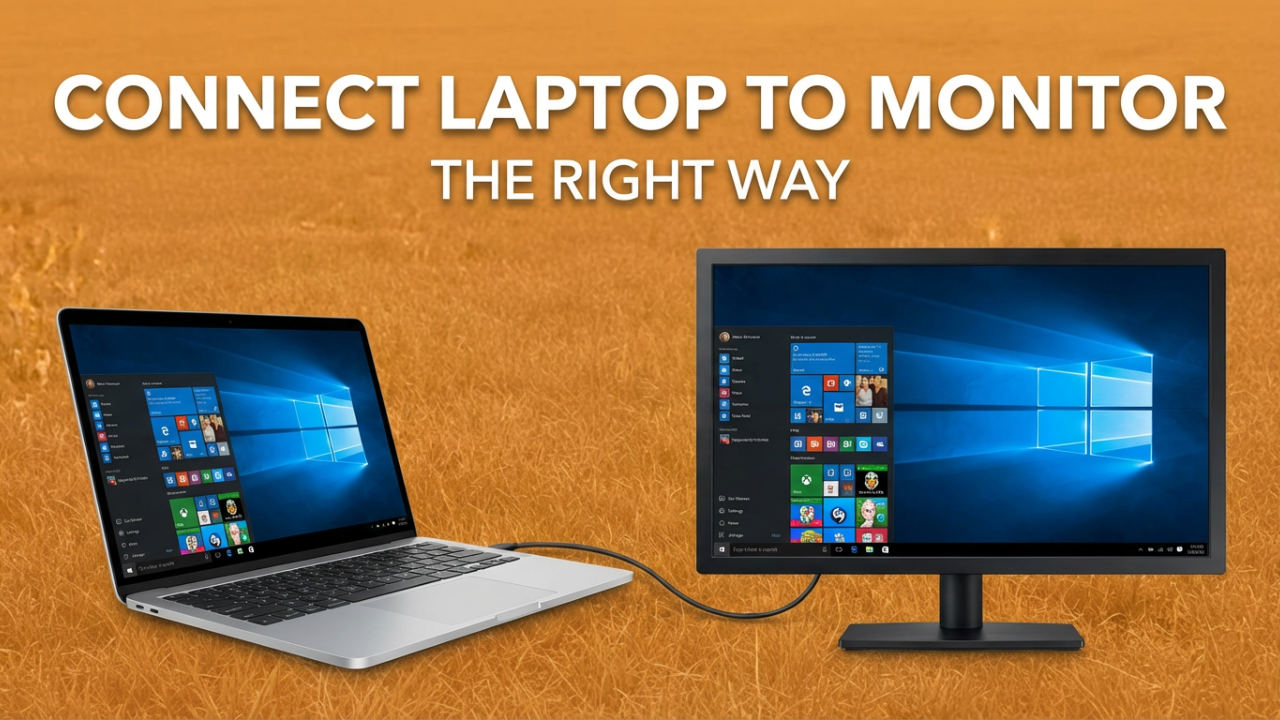
So, you’re excited to finally get a second screen for your laptop, but right now you’re just staring at a blank display and a mess of wires. Don’t worry. In the next few minutes, I’ll show you the simple wired and wireless ways to get your setup working perfectly. That productivity boost you’ve been dreaming of is just moments away.
You’ve seen those clean desk setups online—a laptop on one side, a big beautiful monitor on the other. It looks like the ultimate command center. The promise is incredible: more space for your apps, the ability to reference info on one screen while you work on another, and a more comfortable setup that doesn’t involve hunching over a tiny laptop display.
But the reality can be frustrating. You’ve plugged the cable in, you’ve turned the monitor on, and… nothing. Just a black screen, maybe a “No Signal” message mocking you. The excitement quickly turns to confusion. Which cable is right? Do I need an adapter? Is there some secret setting I missed? It feels like it should just plug and play, but it often isn’t.
This guide will cut through that confusion. We’ll walk through every step, from identifying the ports on your devices to the final software tweaks that bring your dual-screen setup to life. We’ll cover common connections like HDMI and USB-C and even explore wireless methods. Most importantly, we’ll tackle that dreaded “blank screen” panic so you know exactly what to do. By the end, you won’t just have a working monitor; you’ll understand *how* it works.

ILIPUTER- International Computer Manufacturing Co.
Section 1: First Things First – Why and What Are You Connecting?
Before we touch a cable, let’s set a clear goal. What are you trying to do? Understanding the difference between “Duplicate” and “Extend” is the key to unlocking the productivity you’re after.
First, the “why.” An external monitor is a huge upgrade. For work, you can have email open on one screen while you focus on a spreadsheet or presentation on the larger monitor. For students, it means having your research visible on your laptop while you write your paper on the big screen—no more flipping between windows. For creatives, external monitors often provide better color and higher resolutions. And for gamers, a dedicated monitor can offer higher refresh rates and faster response times for a more immersive experience. Plus, there’s ergonomics. An external monitor lets you sit up straight with the screen at eye level, which is a lifesaver for your neck and back during long sessions.
Now for the critical “what.” When you connect a second screen, you have two main choices: Duplicate or Extend.
**Duplicating Your Display:** This is also called “mirroring.” The external monitor shows the exact same thing as your laptop screen. It’s useful for presentations where you want your audience to see what you see on a big TV or projector. It’s also great for sharing a photo slideshow or video with someone. But for everyday work, this isn’t what you want because it doesn’t give you any extra desktop space.
**Extending Your Display:** This is the mode that changes everything. When you extend your display, the external monitor becomes a seamless continuation of your laptop’s screen. This creates one giant desktop spanning both displays. You can literally drag a window from your laptop screen over to the monitor. This is where the magic happens. Have a video call on your laptop while taking notes on the main monitor. Code on one screen and see the live preview on the other. This is the setup that unlocks massive productivity gains.
When you first connect, your computer might default to either mode. Knowing how to switch is crucial. On Windows, just press the **Windows key + P**. This brings up a menu with four choices: “PC screen only,” “Duplicate,” “Extend,” and “Second screen only.” On a Mac, you’ll find these settings in the “Displays” section of System Settings. We’ll get more into software later, but for now, remember this: your main goal is almost always to **extend** your display.
Section 2: The Wired Connection – Your Most Reliable Option
Now that we know our goal, it’s time to connect things. A physical cable is the most reliable way to connect a laptop to a monitor. It gives you the best performance, lowest lag, and is usually the most straightforward method. But all the different ports and cables can be confusing. Let’s break it down.
Part A: A Visual Guide to Your Ports
First, just take a look at your laptop and monitor. You need to see what video *output* ports your laptop has and what video *input* ports your monitor has. Here are the most common ones.
**1. HDMI (High-Definition Multimedia Interface):** This is easily the most common port on modern laptops, monitors, and TVs. It’s a six-sided port that carries both high-definition video and audio in one cable, which is super convenient. If you’re connecting to a 4K monitor, make sure you use a “High-Speed” HDMI cable to get the best resolution and refresh rate. Some thin laptops might have a Mini-HDMI or Micro-HDMI port, which works the same but needs a special cable or adapter.
**2. DisplayPort:** This looks a lot like HDMI, but one corner is squared off at a 90-degree angle. DisplayPort is another high-performance standard for video and audio. It’s very common on gaming or professional monitors because it often supports higher refresh rates than HDMI. While some laptops have a full-size DisplayPort, it’s more common to find a smaller **Mini DisplayPort** on notebooks, especially slightly older ones.
**3. USB-C:** This is the newest and most versatile port. It’s the small, oval-shaped one that you can plug in upside down. But this is extremely important: **not all USB-C ports can handle video.** For video, the port must support **DisplayPort Alternate Mode (or “DP Alt Mode”)** or be a **Thunderbolt 3 or 4** port. Many basic USB-C ports are just for data or charging.
How can you tell? Look for a symbol next to the port.
* A **lightning bolt** means it’s a Thunderbolt port. This is the best-case scenario, as it definitely supports video and super-fast data transfer.
* A **’D’ with a ‘P’ inside** it means the port supports DisplayPort Alt Mode and can send out a video signal.
* If you just see a standard USB symbol or a battery icon, that port is probably for data or charging only and won’t work for a monitor. If there’s no symbol, you’ll have to check your laptop’s official specs online.
**4. VGA (Video Graphics Array):** You’ll only see this on older hardware. It’s a blue, 15-pin connector. VGA is an analog signal, so the quality isn’t as good as digital options like HDMI, and it doesn’t carry audio. You won’t find it on new laptops, but you might on older monitors or projectors.
**5. DVI (Digital Visual Interface):** Another older port, typically white and larger than HDMI. It provides a better digital picture than VGA but usually doesn’t carry audio. You might run into it on monitors that are a few years old.
Go ahead and look at your devices now. The ideal situation is matching ports, like HDMI on both the laptop and the monitor. That makes the next step easy.
Part B: Choosing the Right Cable or Adapter
Once you know your ports, it’s a process of elimination.
**Scenario 1: You Have Matching Ports**
This is the dream. If both your laptop and monitor have an HDMI port, all you need is an HDMI cable. If both have DisplayPort, you need a DisplayPort cable. If both have a video-capable USB-C port, you’ll need a USB-C cable that is rated for video. No adapter needed. Just get a quality cable of the right type and length.
**Scenario 2: Your Ports Don’t Match**
This is really common, especially with modern laptops that only have USB-C ports. This is where adapters come in. An adapter is just a small device that bridges the gap between two different ports.
* **Laptop has USB-C, Monitor has HDMI:** This is probably the most common situation today. You need a **USB-C to HDMI adapter** or a multiport hub. Just plug the adapter into your laptop, then run a standard HDMI cable from the adapter to your monitor. Remember to make sure your USB-C port actually supports video first!
* **Laptop has USB-C, Monitor has DisplayPort:** Same idea. You’ll need a **USB-C to DisplayPort adapter**.
* **Laptop has HDMI, Monitor has DisplayPort (or vice-versa):** Be careful here. Adapters that go between HDMI and DisplayPort are often one-way only. Read the product description carefully to make sure it converts from your source (the laptop) to your display (the monitor).
* **Laptop has Mini DisplayPort, Monitor has HDMI/DisplayPort:** You’ll need a simple **Mini DisplayPort to HDMI** or **Mini DisplayPort to DisplayPort** adapter. These are very common and reliable.
* **Connecting to Older VGA/DVI Monitors:** If you have a modern laptop but an old monitor, you’ll need an active adapter like an **HDMI to VGA adapter**. This contains a chip that converts the digital signal from your laptop to the analog one the monitor understands.
A quick note on **docks and hubs**: If you want to connect a monitor, keyboard, mouse, and other things to your laptop at once, a USB-C hub or docking station is a fantastic investment. It lets you plug everything into the dock, and then connect to your laptop with just a single USB-C cable.
Part C: Making the Connection
You’ve got your ports identified and have the right cable or adapter. This last physical step is easy.
1. **Plug the Cable into Your Laptop:** Connect the cable (or adapter) to the video port on your laptop. It should feel snug. Don’t force it.
2. **Plug the Cable into Your Monitor:** Connect the other end to the video input on your monitor.
3. **Power Everything On:** Plug in your monitor and press its power button. Then, turn on your laptop.
4. **Select the Correct Input Source:** This is a simple but critical step that causes most “No Signal” problems. Your monitor has buttons, usually on the bottom or back. Use them to open its menu and look for an “Input” or “Source” option. Make sure you select the port you actually plugged the cable into (e.g., HDMI 1, DisplayPort, etc.).
Once you select the right source, an image should appear. If it does, congrats! You can jump ahead to the software part. If you’re still seeing a blank screen, don’t panic. The next sections are for you.

ILIPUTER- International Computer Manufacturing Co.
Section 3: Going Wireless – The Cable-Free Option
Want a cleaner desk with no cables? Wireless display technology lets you mirror or extend your screen using your Wi-Fi network. It’s great for conference rooms or anyone who just hates clutter. The downside is that you can get a slight delay, or “latency,” so it’s not ideal for fast-paced gaming. But for watching videos, browsing the web, or working on documents, it’s usually just fine.
The two main technologies are **Miracast** for Windows and **AirPlay** for Apple devices.
Connecting Wirelessly on Windows (with Miracast)
Most modern Windows 10 and 11 laptops can use Miracast. Many smart TVs and some monitors have it built-in.
1. **Turn on Wi-Fi:** Both your laptop and your display need to be on the same Wi-Fi network.
2. **Get Your Monitor Ready:** On your smart TV or wireless monitor, you might need to open an app called “Screen Mirroring,” “Screen Share,” or “Miracast” to make it discoverable.
3. **Open the Connect Panel:** On your laptop, press **Windows key + K**. A “Connect” panel will slide out and start looking for wireless displays.
4. **Select Your Display:** Your monitor or TV should show up in the list. Click on its name.
5. **Confirm the Connection:** Your TV might ask for permission to connect. Use the remote to accept it.
6. **Choose Your Mode:** It will probably start in “Duplicate” mode. Just like before, press **Windows key + P** and choose “Extend” to use it as a separate screen.
If your monitor doesn’t have Miracast, you can buy a Microsoft Wireless Display Adapter. It plugs into an HDMI port on your monitor and acts as the wireless receiver. *Bonus tip: If Win+K does nothing, the feature might need to be installed. Go to `Settings` > `System` > `Projecting to this PC`, and Windows will give you a link to add the “Wireless Display” optional feature.*
Connecting Wirelessly on a Mac (with AirPlay)
For MacBooks, the technology is called AirPlay. You’ll need an AirPlay-compatible receiver, like an Apple TV hooked up to your monitor, or a newer smart TV that includes AirPlay.
1. **Use the Same Wi-Fi:** Make sure your MacBook and the AirPlay receiver are on the same Wi-Fi network.
2. **Open Control Center:** Click the Control Center icon in the top-right menu bar (it looks like two toggle switches).
3. **Click “Screen Mirroring.”**
4. **Select Your Display:** A list of available AirPlay devices will pop up. Click the one you want to connect to.
5. **Enter a Passcode:** The first time you connect, a code might appear on your monitor. Type it into your Mac to connect.
6. **Set as a Separate Display:** By default, AirPlay mirrors your screen. To extend it, go to `System Settings` > `Displays`. You’ll see boxes for both screens. For the AirPlay display, change the “Use as” dropdown from “Mirror…” to “Use as Separate Display.” Now you have an extended desktop.
Wireless is convenient, but if you notice lag or stuttering, it’s probably because of a busy Wi-Fi network. In that case, a wired connection is always the best fallback.
Section 4: Troubleshooting – What to Do When It’s Not Working
You’ve followed the steps, but you’re still looking at a blank screen. Or maybe the display is flickering. Don’t worry, almost every problem is solvable.
**Problem 1: The Monitor Shows “No Signal” or is Blank**
This is the number one headache. You know the monitor has power, but it isn’t getting a signal.
* **Step 1: Check the Input Source.** Seriously, check this first. Use the buttons on your monitor to manually cycle through every input (HDMI 1, HDMI 2, DP, etc.). Give it a few seconds on each one. This is the most common fix.
* **Step 2: Check the Physical Cables.** Unplug the cable from both the laptop and the monitor, then plug it back in firmly. A loose connection is a very common problem.
* **Step 3: Force Windows to “Detect.”** Right-click your desktop and choose “Display settings.” Scroll down to the “Multiple displays” section and click the “Detect” button to make Windows rescan for monitors.
* **Step 4: Restart Your Graphics Driver.** This is a magic trick for Windows. Press **Windows key + Ctrl + Shift + B**. Your screen will go black for a second and you might hear a beep. This restarts the graphics driver and can often force it to recognize the new monitor.
* **Step 5: Power Cycle Everything.** If nothing else works, turn it all off and on again. Shut down your laptop and unplug the monitor from the wall outlet. Wait a minute. Then, plug the monitor back in, turn it on, and then turn your laptop on. It sounds simple, but it often works.
* **Step 6: Test Your Gear.** If you can, try a different cable to rule out a faulty one. If your monitor has two HDMI ports, try the other one.
**Problem 2: The Display is Flickering or Distorted**
If you have a picture, but it’s unstable, it’s often a cable or driver issue.
* **Step 1: Secure the Cable.** Flickering is a classic sign of a loose or low-quality cable. Make sure both ends are plugged in tight.
* **Step 2: Update Your Graphics Drivers.** Outdated drivers cause all sorts of display problems.
* **On Windows:** Go to “Device Manager,” expand “Display adapters,” right-click your graphics card (e.g., NVIDIA, Intel, AMD), and select “Update driver.” For the best results, go directly to the manufacturer’s website and download the latest driver for your specific model.
* **Step 3: Adjust the Refresh Rate.** The refresh rate is how many times per second the screen updates. A mismatch can cause flickering.
* **On Windows:** Go to `Display settings` > `Advanced display settings`. Select your external monitor, then click “Display adapter properties.” Under the “Monitor” tab, you can try selecting a different “Screen refresh rate” from the dropdown.
**Problem 3: Everything Looks Stretched, Blurry, or the Wrong Size**
This happens when your computer is sending a resolution that doesn’t match the monitor’s native resolution.
* **Step 1: Check Resolution.** In `Display settings`, select the box for your external monitor. In the “Display resolution” dropdown, choose the one marked “(Recommended).” That’s your monitor’s sweet spot.
* **Step 2: Check Scaling.** Right below resolution is the “Scale” setting, which adjusts the size of text and icons. If things look too big or small, you can change this percentage. You can set different scaling for your laptop and your monitor to make them look consistent.
**Problem 4: My USB-C Connection Isn’t Working**
If your USB-C connection is failing, it’s almost always one of two things:
* **Confirm Video Support:** Double-check that the USB-C port on your laptop supports video (look for the Thunderbolt or DP symbol). A basic data-only USB-C port will never work.
* **Check Your Cable/Adapter:** A cheap USB-C charging cable won’t work for video. You need a cable rated for high-speed data. Likewise, some cheap multiport hubs have limits, like only supporting 4K at a laggy 30Hz.
By working through these steps, you can solve almost any connection issue.
Conclusion
And that’s it. From identifying ports to fixing that frustrating blank screen, you now have a complete guide to connecting your laptop to a monitor. Your desk is no longer a source of confusion, but a powerful command center. That extra screen space is going to change how you work and play. No more constant app-switching, no more cramped workspace—just a seamless, expansive desktop ready for anything. You’ve handled the hardware, you’ve configured the software, and you’ve unlocked a whole new level of efficiency.