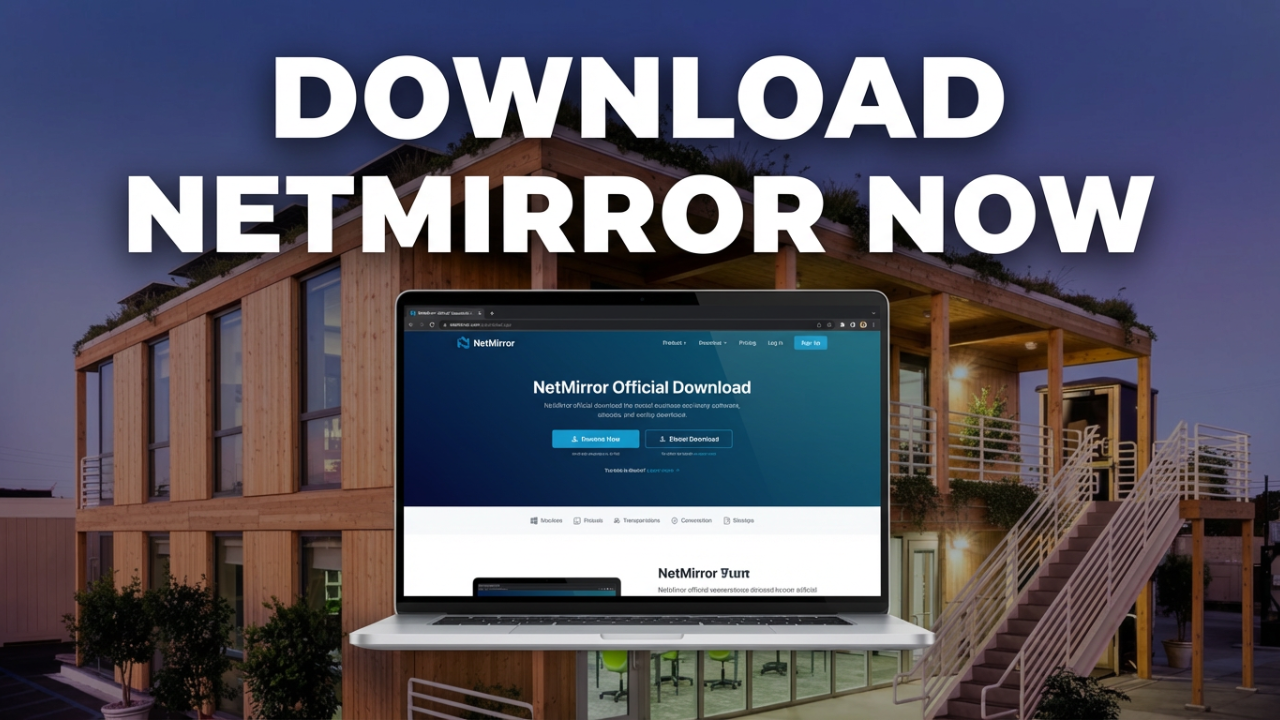
So, you’re trying to get NetMirror on your laptop, but you’re hitting a wall. You’ve seen the tutorials, you’ve heard the hype, but every path seems confusing, risky, or just doesn’t work. What if I told you that a lot of what you’ve heard about installing NetMirror is wrong, and potentially dangerous for your computer?
You want to get this app on a bigger screen, but don’t know where to start. We’re going to fix that today. This isn’t just another quick-click tutorial. This is the definitive guide to installing NetMirror on your Windows or Mac laptop in 2025. We’ll cover every method, from the safest and most recommended approach to the risky alternatives you need to be careful with. By the end of this video, you won’t just have NetMirror running; you’ll understand *how* it works, the risks involved, and how to protect yourself. Let’s get it working the right way.
Before we touch a single download link, we need to clear something up, because the name “NetMirror” is incredibly confusing. It’s used by completely different apps, and knowing which is which is key to staying safe.
On one hand, there are apps in the official Google Play and Apple App Stores. The Google Play app is called **“NetMirror – Movies and Series,”** and it’s a legal guide that shows you where you can stream, rent, or buy shows on legitimate services. The Apple App Store has one called **“Netmirror : Movies & Shows Box.” These are generally safe.
On the other hand, there are dozens of unofficial websites and APK files for an app also called NetMirror, sometimes “Netflix Mirror.” These versions are entirely different. They are designed to let you stream movies and shows from services like Netflix and Disney+ for free, which often means they’re using pirated content. Using these apps can put you in a legal gray area or in direct violation of copyright laws, and the files themselves can be a huge security risk.
This is why the installation method you choose matters so much. We’ll start with the safest way, and then we’ll discuss the much riskier alternatives, just so you have all the facts.

ILIPUTER- International Computer Manufacturing Co.
Section 1: The Critical Prerequisite – Safety First!
Don’t skip this. Before you download anything from a source you don’t 100% trust, you have to prep your system. This is a basic rule for protecting your digital life. Failing to do these steps is like driving without a seatbelt—it might be fine, or it could be a disaster.
**Step 1: Full Data Backup**
First, back up your important data. Your documents, photos, project files—anything you can’t afford to lose. When you install software from outside official app stores, you are taking a risk. Your backup is your ultimate safety net. Use a cloud service like Google Drive or OneDrive, or just plug in an external hard drive. Create a folder and copy everything valuable into it. It’s a small price to pay for peace of mind.
**Step 2: Create a System Restore Point (Windows)**
If you’re on a Windows laptop, your next step is creating a System Restore Point. Think of it as a time machine for your computer’s operating system. If an installation messes things up, you can rewind your system settings to the moment you created the point, without touching your personal files.
Here’s how on Windows 10 and 11:
1. Click the Start Menu or Search icon and type “Create a restore point.”
2. In the System Properties window that opens, look at your main drive, usually (C:). If protection is “Off,” select it, click “Configure,” choose “Turn on system protection,” and click “OK.”
3. With your C: drive selected, click the “Create…” button.
4. Name it something you’ll remember, like “Before NetMirror Install – Dec 2025.”
5. Click “Create.” It only takes a minute or two.
Now you have a powerful undo button if anything goes wrong.
**Step 3: Update Your Antivirus Software**
Make sure your antivirus software is active and fully updated. Whether it’s Windows Defender or a third-party tool like Bitdefender or Malwarebytes, its power comes from having the latest virus definitions. Open your security software and manually check for updates. This is your frontline defense, and keeping it current is non-negotiable.
With these safety steps done, let’s move on to the installation methods, starting with the one I strongly recommend.
Section 2: The Recommended & Safest Method – Using an Android Emulator
The single best way to run NetMirror on a laptop is with an Android emulator. This method gives you the most security, control, and the highest chance of success.
**What is an Android Emulator?**
Imagine a virtual Android phone running as an app on your computer. That’s an emulator. It creates a complete Android OS inside a window on your desktop, letting you install apps from the Google Play Store just like on a real phone.
**Why is an Emulator the Best Choice?**
Two huge reasons:
1. **Security through Isolation:** The emulator is a “sandbox.” Apps installed inside it are isolated from your main computer files. If an app has malware, its ability to infect your core Windows or Mac system is dramatically reduced. It’s like handling something potentially dangerous inside a sealed box.
2. **Access to the Official Google Play Store:** This is the game-changer. With an emulator, you can log into the official Play Store and download the legitimate, vetted version of “NetMirror – Movies and Series,” completely bypassing risky websites and shady APK files.
**Choosing an Emulator**
Several excellent, free emulators are out there. The most popular are:
* **BlueStacks:** One of the oldest and most well-known, great for beginners. This is what we’ll use for our guide.
* **LDPlayer:** A lightweight and fast option.
* **NoxPlayer:** Another solid choice known for stability.
We’ll walk through the process using BlueStacks 5. The steps for other emulators will be very similar.
**Step-by-Step: Installing BlueStacks 5**
1. **Go to the Official Website:** Open your browser and search for “BlueStacks 5.” Make absolutely sure you are on the official **bluestacks.com** site. Avoid third-party download sites.
2. **Download the Installer:** Click the big “Download BlueStacks” button.
3. **Run the Installer:** Find the downloaded file in your ‘Downloads’ folder and double-click it. Click “Yes” if Windows asks for administrator permission.
4. **Install BlueStacks:** The installer will appear. Just click “Install now” for the default settings. This will take a few minutes.
**A Quick but Crucial Detour: System Requirements and Virtualization (VT)**
For an emulator to run smoothly, it needs a feature called **Virtualization**, often labeled VT, VT-x, or SVM in your computer’s BIOS. This setting allows your processor to efficiently run a virtual machine, which is exactly what an emulator is. Sometimes, it’s turned off by default.
First, check if it’s enabled in Windows:
* Press **Ctrl + Shift + Esc** to open the Task Manager.
* Go to the “Performance” tab and select “CPU.”
* On the right, look for “Virtualization.” If it says “Enabled,” you’re good. If it says “Disabled,” you need to turn it on.
**How to Enable Virtualization in BIOS/UEFI:**
This part might look intimidating, but it’s pretty simple. The menu just looks different depending on your computer’s brand (Dell, HP, etc.).
1. **Restart into BIOS:** The easiest way on Windows 10 or 11 is to go to **Settings > System > Recovery**. Under “Advanced startup,” click “Restart now.” Your PC will restart to a blue menu. Select **Troubleshoot > Advanced options > UEFI Firmware Settings**, and click “Restart.” This boots you right into the BIOS.
* Alternatively, restart your computer and immediately press the key to enter BIOS—often **F2, F10, DEL, or ESC**. The key is usually shown on-screen for a moment when your PC starts.
2. **Find the Virtualization Setting:** Using your arrow keys, look for a tab named “Advanced,” “Configuration,” or “CPU Configuration.”
3. **Enable the Setting:** The option will be called something like **”Intel(R) Virtualization Technology,” “VT-x,” or “SVM Mode.”** Select it, press Enter, and change it from “Disabled” to “Enabled.”
4. **Save and Exit:** Go to the “Exit” tab and choose the option to “Save Changes and Exit.” You can often just press the **F10** key. Confirm you want to save, and your computer will restart.
Once you’re back in Windows, your emulator will run worlds better.
**Step-by-Step: Setting Up BlueStacks and Installing NetMirror**
Now that BlueStacks is ready, the rest is a piece of cake.
1. **Launch BlueStacks:** Open BlueStacks 5. The first launch might take an extra minute.
2. **Sign in to your Google Account:** To use the Play Store, you need to sign in with a Google account. For extra privacy, you could create a secondary Google account just for the emulator.
3. **Open the Google Play Store:** Once you’re signed in, the interface is identical to the phone version.
4. **Search for NetMirror:** Type “NetMirror” in the search bar.
5. **Install the App:** Look for **”NetMirror – Movies and Series.”** This is the streaming guide app. Click “Install.” The Play Store will handle the download and installation safely inside your emulator.
6. **Launch NetMirror:** An icon will appear on your BlueStacks home screen. Click it to launch the app.
And that’s it! You now have NetMirror running securely on your laptop.

ILIPUTER- International Computer Manufacturing Co.
Section 3: The Alternative Method (For Windows) – The Native Installer
This section is for information only and comes with a huge warning: **this method carries serious security risks.** Many tutorials point to a “Download for Windows” button or a native `.EXE` installer, but these are almost always distributed through unofficial channels.
An `.EXE` file is an executable. Double-clicking it gives it wide-ranging permissions to change your computer. Unlike an app from the Play Store, a random `.EXE` from the internet hasn’t been scanned by a gatekeeper like Google or Microsoft. It could be bundled with malware, spyware, or adware.
**How to Be as Safe as Possible (If You MUST Use This Method)**
If you’re still determined to try this, you have to act as your own security expert.
**CRITICAL STEP 1: Using VirusTotal to Scan the Installer**
Before you even think about running that file, scan it with VirusTotal. It’s a free service from Google that checks files with over 70 different antivirus scanners.
1. **Download the File, Do NOT Run It:** Find a site claiming to have the NetMirror `.EXE` and download it. **Do not double-click it.**
2. **Go to VirusTotal.com:** Open a new browser tab and navigate to `www.virustotal.com`.
3. **Upload the File:** Click the “File” tab and choose the installer you just downloaded.
4. **Analyze the Results:** VirusTotal will give you a detection ratio, like “5/70.” This means 5 of the 70 antivirus engines flagged the file.
**How to Interpret VirusTotal Results:**
* **0/70 Detections:** A good sign, but not a guarantee. It could be a new threat.
* **1-2/70 Detections:** A gray area. Could be a false positive, but if a major name like Kaspersky or Bitdefender flags it, take it seriously.
* **5+/70 Detections:** **Stop immediately.** This is a massive red flag. Some scans of unofficial NetMirror files have shown malicious flags, so be very cautious. Delete the file and empty your Recycle Bin.
**Step 2: Running the Installer (If It Passes the Scan)**
If—and only if—the scan is clean and you accept the risk, you can proceed.
1. **Run as Administrator:** Right-click the installer and choose “Run as administrator.”
2. **Scrutinize the Installation Wizard:** Pay extremely close attention to every screen. Many installers bundle adware. Look for pre-checked boxes offering browser extensions or to change your search engine. **Uncheck all of them.** Always choose “Custom” or “Advanced” installation to see what’s hidden.
3. **Heed Antivirus Warnings:** If your own antivirus warns you during the installation, don’t just click “Allow.” That warning is your last line of defense. Cancel the installation immediately.
Section 4: The Mac & iOS Guide
The situation for Apple users is similar, just with different file types.
**For macOS Laptops (MacBooks, iMacs)**
You have the same two paths: the recommended emulator or the risky native installer.
**1. The Emulator Method (Safest):**
BlueStacks is also available for macOS. The process is nearly identical to the Windows version.
* Download BlueStacks for Mac from its official website.
* Install it, granting any necessary permissions in **System Settings > Privacy & Security**.
* Launch BlueStacks, sign into Google, open the Play Store, and install the “NetMirror” guide app from there. This is still the most secure and reliable route.
**2. The Native Installer Method (Risky):**
Some sites offer a Mac version, usually as a `.DMG` file.
1. **Security First:** Just like with an `.EXE`, you **must** scan the `.DMG` file with VirusTotal before opening it. The malware risk is just as high.
2. **Installation Process:** If it scans clean, double-click the `.DMG` to mount it. Drag the NetMirror icon into your Applications folder.
3. **Gatekeeper and Permissions:** macOS has a feature called Gatekeeper that blocks apps from unidentified developers. The first time you try to open it, you’ll likely get a warning that the developer can’t be verified.
* To bypass this (again, only if you’ve scanned the file and accept the risk), go to **System Settings > Privacy & Security**. You’ll see a message about NetMirror being blocked with an “Open Anyway” button. You’ll have to confirm and may need to enter your password.
**For iOS (iPhone / iPad)**
Getting unofficial apps on an iPhone used to be complicated, but for NetMirror, the answer is now simple and safe.
**The ONLY Recommended Method for iOS:**
As of 2025, the official Apple App Store has an application named **”Netmirror : Movies & Shows Box.”** This is the only method you should use.
1. Open the **App Store**.
2. Search for “NetMirror.”
3. Find the app and tap “Get” to install it.
Downloading from the App Store ensures the app has passed Apple’s security review, making it far safer than any risky, third-party installer. Some old guides mention workarounds, but those are now unnecessary and dangerous. Avoid them.
Section 5: Legal and Ethical Considerations
We need to talk honestly about the legal side of this, especially with the unofficial versions.
**The Copyright Elephant in the Room**
The popular, unofficial versions of NetMirror are sought after because they offer free access to movies and shows from paid services. These versions usually operate by linking to pirated content streams.
Using an app to stream copyrighted material you don’t have a license for is copyright infringement in most countries. The consequences can range from warnings from your internet provider to heavy fines. You are solely responsible for the content you access and for following the laws in your country.
**Distinguishing Between Versions**
This is why your download source is everything.
* **Apps from Official Stores:** The versions on the Google Play and Apple App Stores are designed as legal streaming *guides*. They tell you which legal services have the movie you want to watch. These are generally legal to use.
* **APKs/.EXEs from the Web:** The versions from random sites, often called “modded” APKs, are the ones most likely to provide access to pirated content. They carry both a high security risk and a high legal risk.
This tutorial is for educational purposes to show you safe installation procedures. We don’t encourage copyright infringement. The only legally sound way to watch movies is through official streaming services.
Section 6: Troubleshooting Common Problems
Even with a guide, you can hit snags. Here are solutions to common issues.
**1. “My Emulator is Running Very Slowly!”**
* **Check Virtualization (VT):** This is almost always the culprit. Go back and double-check in your Task Manager that it’s enabled. If not, you have to restart and enable it in the BIOS.
* **Allocate More Resources:** In your emulator’s settings (the gear icon in BlueStacks), you can give it more of your computer’s CPU cores and RAM.
* **Update Graphics Drivers:** Emulators lean on your graphics card. Make sure your drivers are up-to-date from the NVIDIA, AMD, or Intel website.
**2. “The App Won’t Install or Crashes on Launch!”**
* **Inside the Emulator:** If an app from the Play Store is acting up, try clearing the Play Store’s cache. Go to the Android settings *inside the emulator*, find “Apps,” select “Google Play Store,” go to “Storage,” and tap “Clear Cache.”
* **Bad APK File:** If you downloaded an APK from the web, the file itself might be corrupt or unstable. There’s no fix for this other than finding another (equally risky) version. This is a huge reason to stick with the Play Store method.
**3. “Windows Defender or My Antivirus Blocked the Installer!”**
* **Listen to the Warning:** This is your security system doing its job. It has detected something it recognizes as a threat. The right response is to delete the file, not disable your antivirus. That warning is a giant red light telling you to stop.
**4. “I Can’t Find the App on the Play Store!”**
* **Geographic Restrictions:** Some apps aren’t available in all countries.
* **Search Terms:** Make sure you’re spelling “NetMirror” correctly.
* **Policy Changes:** An app’s availability on the Play Store can change.
If you can’t find it, you’d be forced to consider the risky APK method. But first, you have to ask yourself if it’s worth the risk when so many great, legal streaming options exist.
Conclusion
And there you have it—the complete, unfiltered, and safety-focused guide to NetMirror on your laptop. We’ve covered the crucial security prep, the highly recommended method of using an Android emulator like BlueStacks, and the murky world of native installers, highlighting the serious risks involved.
To recap the most important point: for nearly everyone, the best method is to install BlueStacks, enable virtualization for performance, and then install the legitimate NetMirror guide app from the official Google Play Store. This path helps protect you from malware and ensures you get a version vetted by Google.