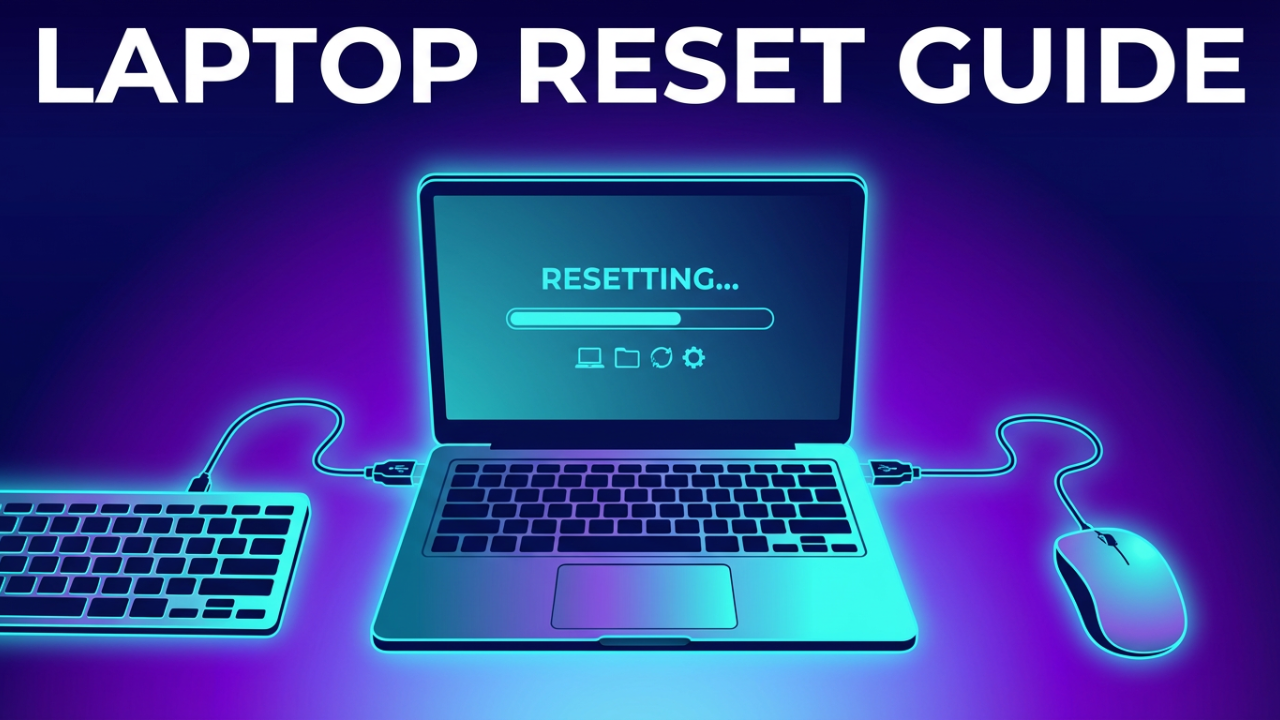
Is your laptop running so slow it makes you want to throw it out the window? Are you fighting a constant battle with bugs and error messages? Or maybe you’re about to sell it and want to make sure your personal data is gone for good. Whatever your reason, you’re in the right place. Resetting a laptop sounds intimidating, but it’s actually a super powerful feature that’s designed to be easy to use. It’s the ultimate refresh button that can fix performance issues, get rid of malware, and give your computer a fresh start.
In this article, I’m going to walk you through every single step to safely reset any Windows, Mac, or Chromebook laptop so you can get that “like-new” performance back. We’ll cover it all, from the most important prep work to the click-by-click process for each operating system. I’ll explain what every option on the screen means and which one is right for you. By the end of this, you’ll be able to confidently reset your machine, knowing your data is safe and the job is done right.

ILIPUTER- International Computer Manufacturing Co.
Section 1: The CRITICAL Pre-Step: Backing Up Your Data
Before we touch a single setting or even think about clicking that reset button, we have to talk about the single most important step in this whole process: backing up your data. Seriously, don’t skip this. A factory reset, especially one that wipes your drive clean, is permanent. Once it starts, there’s no undo button to get back files you forgot to save. All of your documents, photos, videos, and everything else will be gone forever. So, taking a few minutes to back up your stuff isn’t just a good idea; it’s mandatory.
So, what should you back up? The short answer is: anything you can’t live without. Start with the usual folders. On Windows, that’s your Documents, Pictures, Videos, Music, and Downloads folders, which you can find in File Explorer. On a Mac, they’re in your user folder in Finder. But don’t stop there. Think about files you might have dropped on your desktop or in other random folders. I find it helps to make a temporary folder on your desktop called “Backup” or “Transfer.” Then, just drag and drop every important file you have into that one spot. It keeps things way more organized.
And don’t forget about your apps! While you’ll have to reinstall most programs, some of them have data you’ll want to save. Your web browser bookmarks are a perfect example—you’ll want to export those so you can import them back in later. Same for games; look for any saved game files or custom creations you want to keep. It’s also smart to just make a quick text list of the programs you use all the time, so you don’t forget what to reinstall.
Now, where does all this data go? You’ve got two main choices: cloud storage or an external drive.
Cloud services like OneDrive, Google Drive, or Dropbox are super convenient. If you’re already using one, a lot of your files might already be backed up. Just double-check that everything is synced before you do anything else. Windows even has a built-in Backup app that can sync your main folders to OneDrive to make this easier. The big plus here is that your files are safe and accessible from anywhere. The downside? You might be limited by your storage plan or your internet upload speed.
The other, more traditional method is using an external storage device, like a USB flash drive or an external hard drive. This is usually the best way to back up a ton of data without breaking the bank. An external hard drive (HDD) gives you a massive amount of storage for a good price, while an external solid-state drive (SSD) costs more but is way faster. The process is simple: just plug in the drive, open your “Backup” folder, and drag it over. Wait for it to finish copying, and then safely eject it. If you want to be extra safe, you can even create a full system image, which is a perfect clone of your entire hard drive. Windows has a built-in tool for this—it’s an older feature, but it still works perfectly on Windows 11 and can be a real lifesaver.
One last tip before we move on: find any product keys or license codes for software you paid for, like Microsoft Office or Adobe Creative Suite. You’ll need those to reactivate them on your fresh machine. Also, it’s a good idea to log out of services like iTunes or other accounts that limit how many devices you can be on. Doing this prep work now will save you a huge headache later.
Section 2: How to Reset a Windows Laptop
Alright, with our data safely backed up, it’s time to reset. We’ll start with Windows, since it’s the most common OS on laptops. Both Windows 10 and 11 have a feature called “Reset this PC” that makes this whole process incredibly simple and gives you a few options to fit what you need.
There are two main ways to kick this off: from inside Windows Settings, which is the way to go if your computer is working fine, or from the Windows Recovery Environment if your PC won’t even boot up.
Let’s start with the easy way, from Settings. On Windows 11, click Start, go to Settings, then System, and finally click on Recovery. On Windows 10, it’s a little different: go to Settings, then Update & Security, and then Recovery. On both, you’ll see “Reset this PC” with a “Reset PC” or “Get Started” button. Go ahead and click that.
Now you have your first big choice: “Keep my files” or “Remove everything.” Let’s break down what these mean.
Option 1: The Fresh Start (Keep My Files)
Choosing “Keep my files” is basically a system refresh. It reinstalls Windows from scratch and resets all your settings, but it doesn’t touch your personal files. Your documents, photos, and everything in your user folders are safe. But—and this is a big but—it will remove all the programs and drivers you’ve installed. This is the perfect option if your computer is just feeling slow or buggy, since those issues are often caused by installed software. You get a clean slate for Windows without the hassle of restoring all your personal data.
After you select “Keep my files,” you get another choice: “Cloud download” or “Local reinstall.”
“Cloud download” does what it sounds like: it downloads a brand-new copy of the Windows installation files straight from Microsoft. This is the best option if you have a good internet connection. The download is over 4 gigabytes, so keep that in mind if you’re on a limited data plan. The main benefit is that you’re getting the absolute latest version of Windows, and it’s a great fix if your computer’s own recovery files are corrupted, which can sometimes make a local reinstall fail.
“Local reinstall,” on the other hand, uses the files already on your computer to rebuild Windows. It’s much faster and doesn’t need an internet connection. But, if a corrupted system file is what’s causing your problems, a local reinstall might just bring that problem right back.
Once you choose, Windows will give you a summary of what’s about to happen. It might show you a link to “View apps that will be removed.” It’s a good idea to click that and maybe even take a screenshot so you have a reminder of what you need to put back on later. When you’re ready, hit “Reset.” Your laptop will do its thing, restarting a few times. This can take anywhere from 20 minutes to an hour, so just be patient and make sure your laptop is plugged in.
Option 2: The Full Wipe (Remove Everything)
Now for the second choice: “Remove everything.” This is the true factory reset. It erases it all—your personal files, apps, and settings—and then installs a fresh copy of Windows. This is the one you *must* use if you’re selling or giving away your laptop. It guarantees that the next person can’t get to your private data. It’s also the nuclear option for getting rid of stubborn malware or deep system problems.
Just like before, you’ll have to choose between a “Cloud download” and a “Local reinstall.” The same logic applies: Cloud gets fresh files from Microsoft, while Local uses what’s on your device.
After that, you’ll see an “Additional settings” screen. This is really important if you’re wiping the drive for security. You should see an option for “Clean data.” If you turn this on, Windows won’t just delete your files; it will actually scrub the drive to make it much, much harder for someone to recover your data later. This takes a lot longer—we’re talking several hours—but it’s the most secure way to do it. If you’re just resetting the PC for yourself, you can leave this off to make it go a lot faster. The final screen will confirm everything. It’ll say that all your files, accounts, and apps are being removed. Double-check that this is what you want, make sure you’re plugged in, and click “Reset.” The process will start, and eventually, you’ll be greeted by the Windows setup screen, just like on a brand-new computer.
How to Reset from the Windows Recovery Environment
But what if your laptop won’t even start? Or you’re stuck on the login screen? That’s where the Windows Recovery Environment, or WinRE, saves the day. To get there, you can hold down the Shift key while clicking the “Restart” button from the power menu on the login screen. If you can’t even get there, you can force it. Turn your laptop on, and as soon as you see the spinning dots or the manufacturer logo, press and hold the power button until it shuts off. Do this two or three times in a row. The next time you boot up, Windows should automatically open the Advanced Startup options.
Once you’re at that blue recovery screen, click on “Troubleshoot,” and then you’ll see our familiar friend: “Reset this PC.” From here, the steps are exactly the same. You’ll choose “Keep my files” or “Remove everything,” pick a Cloud or Local install, and you’re on your way. It’s the failsafe that works even when Windows won’t.

ILIPUTER- International Computer Manufacturing Co.
Section 3: How to Reset a macOS Laptop
Now, let’s switch gears and head over to the Apple world to reset a MacBook. The process here is just as powerful as on Windows, but the names are different. With newer versions of macOS on Macs with Apple Silicon (M1, M2, M3 chips) or the T2 Security Chip, there’s a super simple method called Erase Assistant. For older Macs, there’s a more traditional method using macOS Recovery and Disk Utility. We’ll cover both.
Method 1: The Modern Way with Erase All Content and Settings
If you have a fairly recent Mac, this is definitely the way you want to go. First, let’s see if your Mac supports it. Go to the Apple menu in the corner and click “About This Mac.” If you see “Chip” followed by a name like “Apple M1,” you’re good to go. If it says “Processor” and then “Intel,” you’ll need to have the T2 Security Chip for this to work. This feature is awesome because it quickly erases all your stuff while leaving the operating system itself untouched.
Of course, make sure you have a backup first. Time Machine is Apple’s built-in tool and makes backing up incredibly easy.
Okay, let’s do it. On macOS Ventura or newer, open System Settings, click “General,” and then “Transfer or Reset.” You’ll see a big button that says “Erase All Content and Settings.”
If you’re on the slightly older macOS Monterey, you’ll find it in System Preferences. Just open it, and from the System Preferences menu at the very top of the screen, choose “Erase All Content and Settings.”
Once you click it, the Erase Assistant will pop up. It’ll ask for your admin password to make sure you have permission. Then, it will show you everything it’s about to remove, which includes signing you out of iCloud, unpairing Bluetooth devices, and deleting all your data and apps. You’ll probably need to enter your Apple ID password to sign out of iCloud and turn off Activation Lock, which is a key security step. After you confirm, click the final “Erase All Content & Settings” button. Your Mac will restart, and in just a few minutes, it’ll be done. It’s surprisingly fast. It will then boot up to the setup assistant, just like it did out of the box.
Method 2: The Traditional Way with macOS Recovery and Disk Utility
If you have an older Intel Mac without a T2 chip, or if the Erase Assistant isn’t an option, you’ll need to use the classic method. It’s a two-step dance: first, you erase the drive with Disk Utility, and then you reinstall macOS.
First, you need to boot into macOS Recovery. How you do this depends on your Mac.
For an Apple Silicon Mac (M-series chip): Shut down your Mac. Now, press and hold the power button. Keep holding it until you see the startup options screen. From there, click on the gear icon that says “Options,” then click “Continue.” That’ll take you to macOS Recovery.
For an Intel-based Mac: Shut down your Mac. Turn it back on and immediately press and hold the Command (⌘) and R keys. Keep holding them until you see an Apple logo or a spinning globe. When you do, you can let go. The spinning globe just means it’s starting Internet Recovery, which downloads the tools from Apple. You might need to connect to Wi-Fi.
Once you’re in the macOS Utilities window, the rest is the same for both types of Macs. You’ll see a few options; the one we want first is “Disk Utility.” Click it and continue.
Inside Disk Utility, you need to find your Mac’s main startup disk in the sidebar, which is usually called “Macintosh HD.” This is really important: make sure you select the main disk entry at the very top, not the one indented underneath it. With the right disk selected, click the “Erase” button at the top. You can give it a name—”Macintosh HD” is standard—and for the format, choose APFS. Then click “Erase.” This will permanently wipe all the data.
After it’s done, which is usually pretty quick, quit Disk Utility by pressing Command (⌘) + Q. This brings you back to the utilities window.
Now for the final step: reinstalling macOS. Choose “Reinstall macOS” and click “Continue.” It will walk you through the steps. You’ll agree to the terms and choose the disk you just erased (“Macintosh HD”) as the destination. Then, the installer will start downloading and installing a fresh copy of macOS. This part can take a while depending on your internet, so keep your MacBook plugged in. Once it’s finished, it’ll restart to the welcome screen, ready for a fresh start.
Section 4: How to Reset a Chrome OS Laptop (Chromebook)
Finally, let’s talk about Chromebooks. These laptops run on Chrome OS, which is super lightweight and cloud-focused. Resetting a Chromebook is called a “Powerwash.” A Powerwash wipes all the local data from the device, like anything in your Downloads folder, and removes all user accounts, restoring it to factory settings. It’s a great way to fix issues or prep the device for someone else.
Because Chromebooks live in the cloud, a Powerwash is usually quick and painless. Most of your stuff is tied to your Google Account and will sync right back when you log in. Still, you absolutely need to back up any files you have in your local “Downloads” folder. Move them to Google Drive or an external drive first, because they will be deleted for good.
There are two easy ways to start a Powerwash.
Method 1: From the Settings Menu
This is the most common way to do it if you can log into your Chromebook. It’s super simple.
First, click the time in the bottom-right corner to open the Quick Settings panel, and then click the gear icon to open Settings.
In the Settings menu, scroll all the way down and click “Advanced.”
Keep scrolling down to the “Reset settings” section, and you’ll see “Powerwash.” Click the “Reset” button next to it. A little box will pop up to warn you that you’re about to erase everything. Click “Restart” to confirm.
Your Chromebook will restart and do its thing, which usually only takes a couple of minutes. When it’s done, you’ll see the welcome screen, just like it was brand new.
Method 2: From the Login Screen
What if you can’t log in? Maybe you forgot your password or bought a used Chromebook with someone else’s account on it. No problem. You can Powerwash right from the login screen.
From the sign-in screen, just press and hold this keyboard combo: Ctrl + Alt + Shift + R.
A box will pop up titled “Reset this Chrome device.” Click the “Restart” button. After it restarts, a new box will appear giving you the option to “Powerwash.” Click it. A final confirmation will appear; click “Continue” to start the factory reset. The device will wipe itself and restart to the setup screen.
Either way you do it, the result is a perfectly clean Chromebook. Just follow the on-screen instructions to connect to Wi-Fi, sign in with your Google Account, and watch as all your settings, bookmarks, and apps sync back automatically.
Section 5: The Finishing Touches: What to Do After the Reset
Congrats! You’ve reset your laptop and it’s running a clean, fresh version of its OS. But you’re not quite done. Think of it like moving into a new apartment. It’s clean, but you’ve got to furnish it to make it feel like home. Here are the last few steps to get your laptop back in business.
First things first, run system updates. No matter what OS you’re on, the very first thing you should do after connecting to the internet is check for updates. Even if you used a cloud download, there are almost always new security patches and driver updates waiting. On Windows, go to Settings > Windows Update. On a Mac, it’s System Settings > General > Software Update. This is critical for making sure your system is secure and stable right from the start.
Next, install your drivers. This is mostly for Windows users. Windows Update is pretty good about finding drivers, but it’s always best to get the latest ones directly from your laptop manufacturer’s website, like Dell, HP, or Lenovo. This is especially important for your graphics card, touchpad, and Wi-Fi to get the best performance.
Now, it’s time to bring your personal files back. Connect your backup drive and start copying your files over. This is a great chance to get organized. Instead of just dumping everything on the desktop, create some clean folders and put your files where they belong. If you used a cloud service like Google Drive, your files should start syncing automatically as soon as you log in.
With your files back, you can start reinstalling your apps. Go back to that list you made earlier and start with the most important ones, like your favorite web browser and password manager. Then move on to productivity software like Microsoft Office and any other programs you use. Just make sure you’re downloading them from their official websites to avoid any unwanted junk.
After your main apps are installed, take a few minutes to customize your settings. Set your desktop background, arrange your taskbar or dock, tweak your display settings, and get everything feeling just right. Getting your digital workspace set up the way you like it makes a huge difference.
Finally, once everything is set up—apps installed, files restored, settings configured—think about making a brand-new backup. Now that your system is in this perfect, clean state, creating a backup gives you an amazing restore point you can use in the future, which might save you from having to do this whole process all over again.
Conclusion
And that’s it! Your laptop is now reset, refreshed, and running like new again. We’ve gone through the whole process, from the crucial backup step to the detailed guides for Windows, macOS, and Chrome OS, and the final setup. You’ve not only fixed whatever was ailing your computer, but you’ve also learned a valuable skill for managing your tech.
I hope this guide was helpful. I know it was a long one, so thanks for sticking with me to the end.