Video opens with a shot of a user looking frustrated at a slow-loading screen, the loading circle spinning endlessly
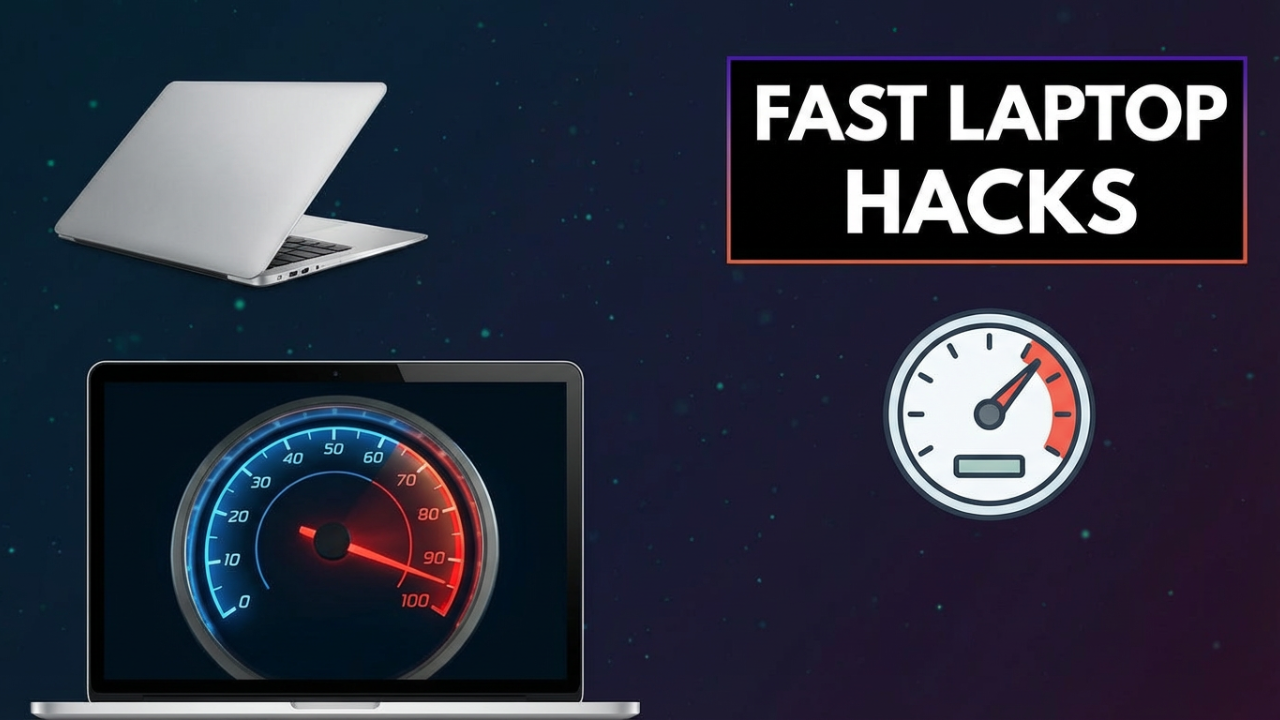
Does this look familiar? You’re staring at a loading circle, wondering where that fast, responsive laptop you bought went. It feels like simple tasks now take forever, and you’re just about ready to throw it out the window. You’ve probably seen other videos with a few quick tips, but this is the *complete* guide. In this video, I’m taking you from a frustrated user to a power user. We’ll cover over a dozen tips to make your laptop faster than ever, starting with easy clicks anyone can do and moving all the way up to hardware upgrades for those who aren’t afraid to get their hands dirty.
So, let’s get right to it. The biggest reason your laptop feels slow is that, over time, it gets bogged down with digital junk and settings that favor battery life over raw speed. We’re going to fix that, right now. This isn’t just a list of five quick tricks; this is the definitive playbook for optimizing your machine. We’ll start with the basics that anyone can do in the next five minutes, then progressively move to advanced fixes that can make a five-year-old laptop feel brand new. Stick with me, because tip number 13, in particular, is a game-changer that most guides don’t explain properly.

ILIPUTER- International Computer Manufacturing Co.
Part 1: The Quick Wins (Beginner-Friendly Software Fixes)
Alright, let’s jump straight into the easy wins. These are simple, reversible software tweaks that don’t cost a dime and can give you an immediate, noticeable performance boost. Think of this as your 10-minute tune-up.
**Tip #1: The Power of a Proper Restart**
I know, it sounds almost insultingly simple, but it’s the most important first step. When was the last time you *really* restarted your computer? I don’t mean just closing the lid or putting it to sleep. I mean going to the Start Menu, clicking Power, and selecting “Restart.”
Here’s why that’s so critical. Putting your laptop to sleep is like pausing a movie. Everything you were doing is still held in the system’s short-term memory, or RAM. When you wake it up, all the apps, processes, and potential memory leaks from your last session are still hanging around. A restart, however, completely clears that RAM and terminates every single process, including those rogue background tasks that might be secretly eating up your resources. A weekly restart is the best first medicine for a sluggish laptop.
**Tip #2: Obliterate Unnecessary Startup Programs**
One of the biggest culprits for a slow boot-up is the army of apps that launch themselves the moment you turn on your laptop. Spotify, Discord, Steam, Adobe Updater—they all want to be ready and waiting, but they’re killing your startup speed.
Let’s take control. On Windows, press **Ctrl + Shift + Esc** to open the Task Manager. Click on the “Startup apps” tab. Here, you’ll see every program that runs when your laptop boots. Now, be ruthless. Go down the list. Do you need your gaming client running 24/7? Probably not. Right-click it and select “Disable.” Do you need your music app open before you even log in? Disable it. Just be careful not to disable anything from your hardware manufacturer (like Intel or NVIDIA) or your antivirus. For most other apps, disabling them is perfectly safe. They won’t be deleted; they just won’t start automatically anymore.
**Tip #3: The Disk Space Purge**
Think of your main storage drive—your C: drive—like a workshop. If it’s cluttered, it’s hard to get anything done. Your operating system needs free space to work efficiently, especially for temporary files and system updates. A good rule of thumb is to always have at least 15-20% of your main drive free.
First, let’s empty the obvious stuff. Empty your Recycle Bin. Go to your Downloads folder and delete all those old installers and files you don’t need anymore. You’ll be shocked at how much space you can reclaim.
Next, let’s use Windows’ built-in tools. Go to the Start Menu and type “Disk Cleanup.” Run it on your C: drive. Once it shows you the list of files to delete, click the button that says “Clean up system files.” This restarts the scan with admin rights, allowing it to find even more junk, like old Windows update files that can take up tens of gigabytes. Check all the boxes and let it run. Windows also has a newer tool for this: go to **Settings > System > Storage**. Here you can turn on Storage Sense, which automatically cleans up temp files for you and gives you a clear breakdown of what’s eating your space.
**Tip #4: Switch to High-Performance Mode**
Most laptops default to a “Balanced” power plan, which is a compromise between performance and battery life. But when you’re plugged in and need speed, that compromise is just holding you back.
Let’s unleash your laptop’s full potential. Go to the Start Menu and search for “Choose a power plan.” You’ll likely see “Balanced” selected. Click on “Show additional plans,” and you should find “High Performance.” Select it. This tells your computer to stop trying to save power. Your CPU will run at max speed more often, and other components will prioritize speed over energy efficiency. It’ll use more battery if you’re unplugged, but when you need to get things done, this is the mode you want.
**Tip #5: Tame the Visuals**
Windows has a lot of fancy animations—windows fading in, shadows under your cursor, and smooth scrolling. They look nice, but every little animation uses a tiny bit of processing power. Added together, they can make your system feel sluggish, especially on older hardware.
Let’s trade that eye candy for raw speed. Go to the Start Menu and type “Adjust the appearance and performance of Windows.” In the window that opens, you’ll see a long list of visual effects. For maximum effect, just select “Adjust for best performance” and click “Apply.” Your interface will suddenly look a bit more basic, but what you get in return is a snappier, more responsive feel. Windows will just pop open instead of fading in. It’s a classic trick that still works wonders.
**Tip #6: Keep Everything Updated**
This might feel like a chore, but it’s crucial. Outdated software and drivers can cause all sorts of slowdowns and compatibility issues.
First, Windows Update. Go to **Settings > Update & Security > Windows Update** and click “Check for updates.” Install everything, including the optional updates, as they often contain driver fixes.
Second, your drivers. Drivers are what let your OS talk to your hardware—your graphics card, your chipset, etc. While Windows Update is pretty good, getting the latest driver directly from the manufacturer (NVIDIA, AMD, or Intel) is often even better, especially for your graphics card.
Finally, update your apps. Open the Microsoft Store and check for app updates. For other programs, look for an “Check for updates” option in their settings menu. Newer versions are often better optimized.
**Tip #7: The Browser Detox**
For most of us, the web browser is our main tool, and it can also be the biggest resource hog. Too many tabs and too many extensions can bring even a powerful laptop to its knees.
First, clear the clutter. In your browser’s settings, find the option to clear browsing data and clear your “Cached images and files.” This cache is meant to speed things up, but it can become bloated and corrupted, ironically slowing you down.
Next, the real killer: extensions. Go to your browser’s extensions menu. How many of those do you *really* need? Every single one runs in the background, consuming RAM and CPU. That PDF converter you used once six months ago? Disable or remove it. Be brutal. A lean browser is a fast browser. Finally, be mindful of your tabs. Each open tab consumes memory. Get in the habit of bookmarking and closing tabs you aren’t actively using.

ILIPUTER- International Computer Manufacturing Co.
Part 2: Deep Cleaning and Maintenance (Intermediate)
We’ve handled the low-hanging fruit. Now it’s time to go a little deeper to root out some of the more stubborn causes of slowdown.
**Tip #8: The Physical Clean-Out**
Performance isn’t just about software; it’s also about physics. Your laptop generates a lot of heat, and if the cooling fans and vents get clogged with dust and lint, it can’t cool itself properly. When components get too hot, they automatically slow down to prevent damage. This is called thermal throttling, and it’s a major cause of poor performance.
The fix is simple: clean it out. Power off your laptop and unplug it. Grab a can of compressed air. Find the exhaust vents on your laptop and give them several short bursts of air to dislodge the dust. Never use a vacuum cleaner, as the static electricity can damage your components. If you’re comfortable, opening up the bottom panel gives you direct access to the fans for a much more thorough cleaning.
**Tip #9: Evicting Bloatware**
Your laptop probably came with a bunch of pre-installed software you never asked for—free antivirus trials, weird photo editors, and pointless “utility” apps. This is bloatware, and it does nothing but take up space and consume resources.
Time for an eviction. Go to **Settings > Apps > Apps & features**. Go through the list and uninstall everything you don’t use or recognize. If you’re unsure about a program, a quick web search will tell you what it is and if it’s safe to remove. Getting rid of this junk frees up disk space and stops any associated background processes.
**Tip #10: Disabling Non-Essential Services**
This is a more advanced tweak, so proceed with caution. Windows runs dozens of “services” in the background to handle core functions. While some are for things you may never use, disabling them can be risky. For example, you can disable the “Print Spooler” service if you never use a printer.
To access them, press **Windows Key + R**, type `services.msc`, and hit Enter. **Crucial Warning:** Do not disable services randomly. Disabling the wrong one can break core parts of your operating system. Honestly, for most users, the performance gain from this is tiny and not worth the risk. This is really only for power users trying to squeeze out every last drop of performance.
**Tip #11: The “Nuclear Option” – Reset This PC**
If your laptop is still hopelessly slow, you can resort to the “nuclear option”: resetting Windows. This reinstalls a fresh, clean copy of the operating system.
Go to **Settings > Update & Security > Recovery**. Under “Reset this PC,” click “Get started.” You’ll get two options:
* **Keep my files:** This reinstalls Windows but keeps your personal files. It will remove all your programs, so you’ll have to reinstall them.
* **Remove everything:** This completely wipes the drive and installs a pristine copy of Windows. This is the most effective option, but you **must** back up all your important data first, because it will be permanently deleted.
A reset can work wonders, removing years of digital grime and often restoring your laptop to like-new performance.
Part 3: The Ultimate Upgrades (Pro-Level Hardware)
If your laptop is *still* not fast enough, it’s time to talk about hardware. For users who aren’t afraid of a screwdriver, these upgrades offer by far the biggest performance leap.
**A Word of Warning:** Before you buy anything, check if your laptop is even upgradeable. Many modern, thin laptops have everything soldered to the motherboard. Use a tool like the Crucial System Scanner or check your manufacturer’s website for your specific model to see what’s possible. Also, know that this may void your warranty.
**Tip #12: The RAM Upgrade – More Room to Work**
Think of RAM as your laptop’s workbench. The more programs you have open, the more space you need. If you run out of space, your computer has to shuffle things to your much slower main drive, which causes massive slowdowns.
In 2025, think of 8GB of RAM as the bare minimum to scrape by. For smooth multitasking, 16GB is the real sweet spot for most people. If you’re a gamer, video editor, or work with large files, 32GB is a worthwhile investment. Upgrading is usually straightforward: you open the bottom panel, unclip the old RAM sticks, and clip the new ones in. Just make sure you buy the right type of RAM for your specific laptop model.
**Tip #13: The SSD Upgrade – The Single Biggest Speed Boost**
If you can only make one upgrade, this is it. If your laptop still uses an old-school mechanical Hard Disk Drive (HDD), upgrading to a Solid State Drive (SSD) will completely transform your machine. It is a night-and-day difference. An HDD has moving parts, while an SSD is all digital, making it orders of magnitude faster. An SSD will make your laptop boot in seconds, launch programs instantly, and make the whole system feel incredibly responsive.
The biggest step is moving your operating system to the new drive. You can do this by “cloning.” You’ll need a USB adapter for your new SSD and cloning software like Rescuezilla or Hasleo Disk Clone. You connect the new SSD via USB and the software makes an exact, bootable copy of your old drive onto it. Once that’s done, you just swap the old drive out for the new one inside your laptop. It’s the single most effective speed upgrade you can possibly make.
Part 4: When to Say Goodbye
We’ve covered a huge range of fixes, but sometimes, you have to know when to fold ’em. If your laptop is more than five or six years old, has non-upgradeable RAM under 16GB, and struggles with modern websites, the cost and effort of upgrading might not be worth it. At a certain point, the core processor is just too old, and no amount of RAM or a fast SSD can fully overcome that bottleneck. If the cost of upgrades approaches half the price of a new, modern laptop, it’s probably time to start shopping.
Conclusion
So there you have it—the complete guide to speeding up your laptop. We started with simple software tweaks like managing startup programs and adjusting power settings. We moved on to deeper maintenance like cleaning out dust and resetting Windows. And finally, we covered the most powerful upgrades of all: adding more RAM for smoother multitasking and installing a blazing-fast SSD.