How to Transfer Data from Laptop to Laptop: A Comprehensive Guide
In today’s interconnected world, the need to transfer data from one laptop to another is common, whether for personal use, business needs, or upgrading to a new device. Fortunately, there are several methods to facilitate this process, each with its pros and cons. In this blog post, we’ll delve into various techniques for transferring data effectively and efficiently, guiding you to choose the best method based on your specific situation.
1. Understanding the Need for Data Transfer
Transferring data between laptops might be necessary for a variety of reasons:
- Upgrading Hardware: Migrating data from an older laptop to a newer model to retain valuable files.
- Collaboration: Sharing files and documents with colleagues or friends.
- Backup: Ensuring that important data is saved and accessible on multiple devices.
Regardless of the reason, knowing the methods available can streamline this process and help avoid the potential frustration that can come with data transfer.
2. Common Methods for Data Transfer
Let’s explore several methods used to transfer data from laptop to laptop, along with their respective steps, advantages, and limitations.
A. Using a USB Flash Drive
Steps:
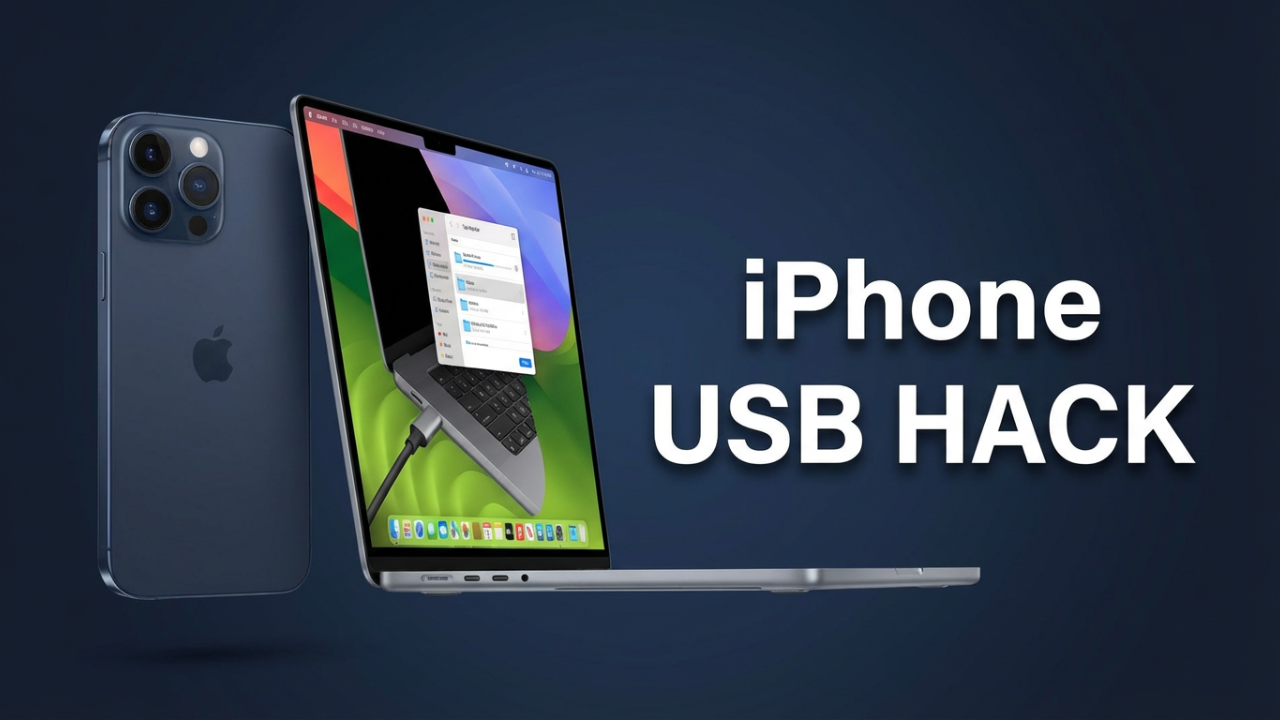
- Insert the USB Drive: Connect a USB flash drive to your source laptop.
- Copy Data: Locate the files or folders you wish to transfer. Right-click and select “Copy,” or press
Ctrl + C. - Paste Data: Open the USB drive in File Explorer (Windows) or Finder (Mac), and paste the copied files (
Ctrl + V). - Eject the Drive: Safely eject the USB drive.
- Transfer to Target Laptop: Insert the USB drive into the target laptop, open it, and copy the files to the desired location.
Pros:
- Simple and cost-effective.
- No internet connection required.
- Portable and widely accessible.
Cons:
- Limited by the flash drive’s capacity.
- Transfer speed may be slow if moving large amounts of data.
B. Using an External Hard Drive
Steps:
- Connect the External Hard Drive: Plug the external hard drive into the source laptop.
- Transfer Files: Open File Explorer or Finder, then drag and drop the files from your laptop to the external hard drive.
- Disconnect the Drive: Eject the external hard drive safely.
- Connect to Target Laptop: Plug the external hard drive into the other laptop and copy the files over.
Pros:
- Higher storage capacity than USB flash drives.
- Faster data transfer rates for large files.
- Ideal for backups.
Cons:
- Typically, more expensive than USB flash drives.
- Slightly less portable owing to size.
C. Using a Network (Wi-Fi or Ethernet)
Steps:
- Connect Both Laptops to the Same Network: Ensure both laptops are connected either wirelessly or through a network cable.
- Enable File Sharing: On both laptops, enable file sharing in the network settings (available in the Control Panel for Windows or System Preferences for Mac).
- Share the Folder: On the source laptop, right-click the folder to share, select “Properties,” and adjust the sharing settings.
- Access Shared Folder: On the target laptop, access the shared drive through “Network” in File Explorer or Finder.
Pros:
- No physical devices needed.
- Efficient for transferring large files.
Cons:
- Setup may be challenging for some users.
- Dependent on a stable network connection.
D. Using Cloud Storage
Steps:
- Choose a Cloud Service: Select a cloud storage provider (e.g., Google Drive, Dropbox, OneDrive).
- Upload Files: Log into the service on the source laptop and upload the files or folders.
- Download on Target Laptop: Log into the same cloud account on the target laptop and download the files.
Pros:
- Accessible from anywhere with an internet connection.
- Great for collaboration and sharing with multiple users.
Cons:
- Requires a stable internet connection and sufficient bandwidth.
- Storage limits may apply based on the free plan.
E. Direct Data Transfer Cable
Steps:
- Purchase a Transfer Cable: Obtain a USB-to-USB data transfer cable designed for connecting two laptops.
- Install the Software: Some cables come with specialized software to facilitate the transfer; install this on both laptops.
- Connect the Laptops: Plug one end of the transfer cable into each laptop.
- Follow the Software Instructions: Use the data transfer software to select and transfer the files.
Pros:
- Relatively fast transfer speeds.
- User-friendly if software is included.
Cons:
- Requires purchasing a specific cable.
- May be redundant if other methods are available.
F. Using System Migration Tools
Steps:
- Windows Easy Transfer (for Windows users): Though discontinued in Windows 10, alternative tools exist (like Laplink PCmover) that can help with large migrations.
- Mac Migration Assistant: For Mac users, the built-in Migration Assistant allows the seamless transfer of data between two Macs.
- Follow the On-screen Instructions: Both tools will guide you through the steps to select the data you want to migrate.
Pros:
- Streamlined and automated data transfer.
- Preserves settings, applications, and files.
Cons:
- More suitable for large-scale transfers or migrations.
- Can be complicated if not set up correctly.
3. Best Practices for Data Transfer
Regardless of the method you choose for data transfer, here are a few best practices to bear in mind:
- Backup Important Data: Always have a backup of important files before starting the transfer. This can prevent data loss in case of errors during the process.
- Check for Compatibility: Ensure the formats of the files being transferred are compatible with the target laptop.
- Maintain Sufficient Power: Plug laptops into a power source to avoid interruptions during the transfer process.
- Verify File Transfer Completion: After transferring, double-check that files have moved successfully by comparing the source and target locations.
Conclusion
Transferring data from laptop to laptop doesn’t need to be complicated. With so many options available—from USB drives to cloud storage—you can find a method that suits your needs based on factors such as file size, transfer speed, and convenience. Choose the method that best aligns with your situation, and follow the steps outlined above to ensure a smooth transfer process. By planning ahead and employing the right method, you can streamline your data transfer and save time, ensuring that your important files are always where you need them.

