

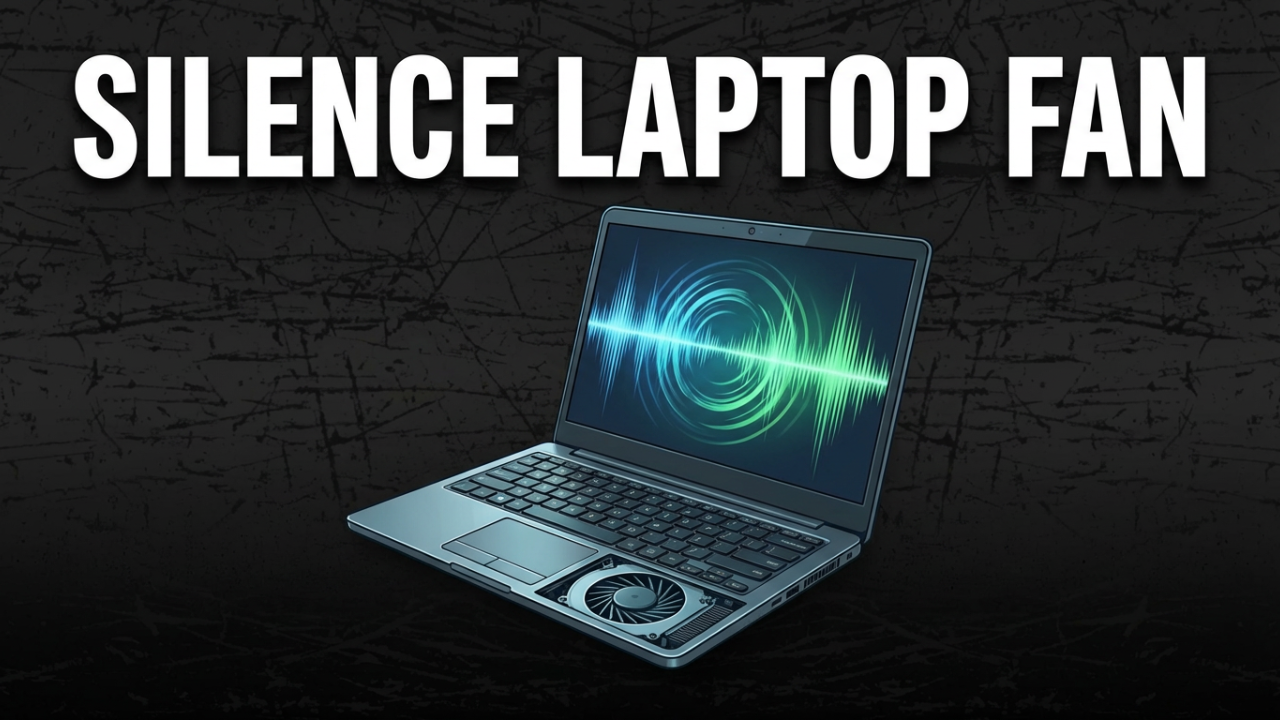
That sound- laptop fan noise. It’s more than just annoying, isn’t it? It’s the sound of your laptop crying for help. It’s the soundtrack to your productivity grinding to a halt, your gaming sessions being ruined, and your sanity slowly chipping away. My own laptop used to sound like a jet engine was trying to take off from my desk. It made it impossible to focus, difficult to work, and honestly, it was just embarrassing to use in a quiet room. It’s a problem that seems to hit almost every laptop owner eventually, turning a sleek piece of tech into a noisy, frustrating burden.
In this guide, we’re going on a complete journey to get that silence back. We’re going to be detectives, diagnosing every possible cause of that terrible noise. We’re also going to be mechanics, systematically working through every single solution. We’ll cover the simple software tweaks you can do in under a minute, all the way to the satisfying process of opening up your machine and replacing the fan itself. By the end of this, you won’t just know *why* your laptop is screaming at you; you’ll have the power to silence it for good. We’re covering everything. So, let’s get started.

ILIPUTER- International Computer Manufacturing Co.
Section 1: Why Your Laptop Sounds Like a 747 – The Causes
Before we can fix the noise, we have to understand the culprit. And at the heart of it all is one simple thing: heat. Your laptop is an incredibly powerful computer crammed into a tiny space. The components that make it all happen—the CPU and the GPU—are the brains of the operation. They’re making billions of calculations a second, and all that work generates a ton of heat.
The fan has one job: get that heat out. It’s part of a cooling system that includes heat sinks and heat pipes. Think of heat sinks as little metal radiators that pull heat directly off the CPU and GPU. Heat pipes carry that heat over to the fan, which then blows it out of the laptop’s vents. It’s a simple, effective system. But when something goes wrong, the fan has to work overtime. It spins faster and faster, desperately trying to keep things cool, and that’s when the roar begins. So, what goes wrong? It almost always boils down to a few key suspects.
First up, the most common enemy of a quiet laptop: dust. Over time, dust, pet hair, and all sorts of other gunk get sucked into your laptop’s vents. This isn’t just a cosmetic problem. All that dust builds up and forms a thick, insulating blanket over the heatsink and clogs up the fan. Imagine trying to breathe with a pillow over your face—that’s what your laptop is going through. The airflow gets blocked, so the heat has nowhere to go. Trapped by this layer of filth, the internal temperature skyrockets. The fan’s sensors see this, and they kick it into high gear, but it’s a losing battle. The fan is just pushing air against a solid wall of dust, making a lot of noise but not actually cooling much. This is, without a doubt, the number one cause of a loud, constantly running fan.
The second major cause is something you might be doing right now: blocking the vents. Laptops have intake and exhaust vents, usually on the bottom and sides. When you put your laptop on a soft surface like a bed, a couch, or even your lap, you’re basically suffocating it. Those soft surfaces block the vents, meaning the fan can’t pull in cool air or push out hot air. The heat gets trapped, temperatures climb, and the fan goes into overdrive. Using your laptop on a hard, flat surface is one of the most basic, yet most important, things you can do for its health.
Next, we have the software side of things: high system load. Your fan’s speed is directly tied to how hard your computer is working. When you’re just browsing the web, your CPU is barely breaking a sweat. But the moment you fire up a demanding video game, start editing a 4K video, or have 50 browser tabs open, you’re putting a huge load on your system. All that activity generates a massive amount of heat, and the fan has no choice but to ramp up to max speed. Sometimes this isn’t even your fault. A rogue background process, malware, or even a buggy driver can cause your CPU usage to spike, creating heat and noise for no obvious reason.
Then there are the problems that come with age. A laptop fan is a mechanical part with bearings that let it spin smoothly thousands of times a minute. After years of use, those bearings can wear out. When that happens, the noise changes from a smooth “whoosh” to something much worse—a grinding, rattling, or clicking sound. That’s a mechanical failure, and no amount of cleaning will fix it. The fan itself is dying.
Just as important is the thermal paste. This is a special goo that sits between the CPU/GPU and the heatsink, filling in microscopic gaps to ensure heat transfers efficiently. Over time, this paste can dry out and crack, losing its effectiveness. When that happens, heat gets trapped on the processor itself. The laptop’s sensors scream “overheating,” and the fan spins as fast as it can, but it’s trying to cool a heatsink that isn’t even getting that hot because the heat can’t get to it.
Finally, take a look at your surroundings. Using your laptop in a hot room or in direct sunlight adds to the thermal load. If the air around the laptop is already warm, the fan has to work that much harder to cool things down.
Understanding these causes is the most important first step. Now, let’s get to fixing them, starting with the easy stuff.
Section 2: The First Line of Defense – Quick and Easy Fixes
Before you even think about picking up a screwdriver, there are some incredibly effective fixes that can solve a huge chunk of fan noise issues. Let’s work our way up from the simplest changes to some basic maintenance. Don’t skip these—they’re often all you need.
**Step 1: Get It Off Your Lap! The Surface Matters**
This is the simplest, most immediate fix you can make. If your laptop is on your bed, couch, or lap, move it. Right now. Put it on a hard, flat surface like a desk or a table. This one action makes sure the air vents on the bottom are clear, allowing for proper airflow. You should notice a difference pretty quickly, especially if this was a common habit.
For even better results, elevate your laptop. You can buy a dedicated laptop stand designed to maximize airflow. Some even have built-in fans, called cooling pads, that give your internal fan some extra help. But you don’t even need to buy anything. Propping up the back of your laptop with a book can seriously improve airflow underneath. The goal is to create as much space as possible for air to circulate.
**Step 2: Tame Your Software – The Digital Cleanup**
Often, the problem isn’t physical, but digital. A runaway program or just too many apps can push your system to its limit and generate a lot of heat. It’s time to find out what the culprit is.
For Windows users, your best friend is the Task Manager. You can open it by pressing **Ctrl + Shift + Esc**. Click on the “Processes” tab and then click the “CPU” column to sort everything by how much power it’s using. Look for anything at the top of the list that’s consistently using a high percentage of your CPU, especially if you aren’t actively using it. You might be surprised to find a browser tab, a background update, or even malware eating up your resources. If you see a non-essential program hogging your CPU, you can select it and click “End task” to shut it down.
For Mac users, the tool you want is the Activity Monitor, which you can find in your Utilities folder. Just like with Task Manager, go to the “CPU” tab and sort by “% CPU” to see what’s working your processor the hardest.
Beyond killing active processes, make sure your system is running efficiently. That means keeping your operating system, your software, and especially your drivers up to date. Graphics drivers from NVIDIA, AMD, or Intel, and BIOS updates from your laptop manufacturer often include critical improvements to performance and thermal management.
Finally, check your power settings. Both Windows and macOS have power plans that let you choose between performance and battery life. On Windows, go to “Power Options” in the Control Panel. If you’re on a “High Performance” plan, your CPU might be running at max speed all the time. Switching to “Balanced” or “Best Power Efficiency” will let the CPU slow down when it’s not busy, which cuts down on heat and noise during light tasks.
**Step 3: The Purge – A Blast of Compressed Air**
If the software tweaks didn’t fix it, you’re probably dealing with our number one suspect: dust. The easiest way to deal with it without opening your laptop is with a can of compressed air. This is basic maintenance every laptop owner should do every six months or so.
First—and this is not optional—completely shut down your laptop and unplug it. If your battery is removable, take it out. Next, find all the air vents on the bottom, sides, and back.
Now, take your can of compressed air, hold it upright, and aim the nozzle at the vents. The key is to use short, controlled bursts. Don’t just hold the trigger down. A really important tip is to blow the air at an angle to help push the dust *out* of the laptop, not just deeper inside. One more crucial safety tip: Do not let the force of the air spin the fan like a pinwheel. Forcing it to spin way faster than it’s designed to can damage the fan’s bearings. Use short bursts to avoid this. Work your way around all the vents to clear out as much dust as you can.
**Step 4: Know Your Numbers – Temperature Monitoring**
How do you know if your laptop is *actually* overheating? You don’t have to guess. There are great free tools that show you the real-time temperature of your components. Programs like HWMonitor, Core Temp, or Speccy give you a detailed readout of your CPU and GPU temps.
Install one of these and see what your numbers look like. When your laptop is just sitting on the desktop, temperatures should ideally be in the 30-50°C range. Some modern, powerful laptops might idle a bit warmer, even up to 60°C, and that can be normal for them. Under a heavy load, like gaming, it’s normal for temps to climb into the 70-85°C range. However, if you see your temperatures regularly spiking into the 90s or even hitting 100°C, you have a serious overheating problem. This data is priceless because it tells you if what you’re doing is working.
If you’ve done all of this—you’re using a hard surface, you’ve cleaned up your software, you’ve blown out the vents, and your temperatures are *still* too high—then it’s time to accept that the problem is deeper. It’s time to roll up our sleeves and go inside.

ILIPUTER- International Computer Manufacturing Co.
Section 3: Going Deeper – The Teardown and Deep Clean
Alright, this is where things get a little more serious. We’re moving from external maintenance to internal surgery. I have to start with a strong disclaimer: opening your laptop will almost certainly void your warranty. It also comes with the risk of damaging something if you’re not careful. If you’re not comfortable with this, stop here and take your laptop to a professional. But, if you have a bit of confidence and the right tools, a deep clean is an incredibly satisfying and effective way to fix severe overheating.
Before you start, you need to prepare. First, find a teardown guide for your exact model. Search YouTube or iFixit for your laptop model plus “disassembly.” Watching someone else do it first is the single best thing you can do. Second, get your tools. You’ll need small Phillips head screwdrivers, plastic prying tools, a can of compressed air, soft brushes, and some 90% or higher isopropyl alcohol. Most importantly, get an anti-static wrist strap. Static electricity can and will kill the delicate parts on your motherboard. Grounding yourself is not optional.
The general process goes like this, but remember to follow your specific guide:
1. **Power Down and Disconnect:** Shut down the laptop completely, unplug it, and remove the battery if you can.
2. **Open the Case:** Flip the laptop over. Carefully remove all the screws from the bottom panel. You absolutely have to keep track of these screws. They’re often different lengths, and putting a long screw in a short hole can destroy your motherboard. A good trick is to draw a diagram and tape the screws to their spots. Once the screws are out, use a plastic pry tool to gently separate the bottom cover from the rest of the laptop.
3. **Disconnect the Battery:** This is the most important safety step once you’re inside. Before you touch anything else, find the internal battery connector and carefully disconnect it. This removes the risk of shorting something out.
4. **Locate and Clean:** Now you can see the cooling system—the fan and the copper heat pipes. The target of our cleaning is the fan and the heatsink radiator fins, which are right at the fan’s exhaust. This is where you’ll probably find a solid mat of dust.
5. **The Deep Clean:** You might need to unscrew the fan assembly to get full access. Once you can, use a soft brush to gently break up the caked-on dust from the fan blades. Use your compressed air in short bursts to blow the dust out of the fan and, most importantly, through the heatsink fins. You should be able to see light through the fins when you’re done. For stubborn grime, you can use a cotton swab with isopropyl alcohol to carefully clean the fan blades, just make sure everything is completely dry before you put it back together.
Once you’ve gotten rid of all the dust, reassemble the laptop by reversing the steps. Reconnect the fan, reconnect the internal battery, snap the bottom case on, and put all the screws back in their correct spots.
Power it up. For many people, this deep clean is the magic bullet. The improved airflow will let the fan do its job at a much lower, quieter speed. But what if your fan was making a grinding or rattling noise? Or what if, even after a perfect cleaning, your temperatures are still too high? That’s when we have to move on to the ultimate fix.
Section 4: The Ultimate Fix – Replacing the Fan and Thermal Paste
Welcome to the final boss of laptop fan noise. This is for when cleaning just isn’t enough. If your fan is making mechanical noises like grinding or rattling, the bearings are shot, and the fan has to be replaced. Or, if your temps are still sky-high after a thorough cleaning, it’s a huge sign that your thermal paste has failed and needs to be replaced. It’s usually best to do both at the same time.
Again, the same **disclaimer** applies: this is an advanced procedure. It takes care and patience. Proceed at your own risk.
**Step 1: Sourcing the Right Parts**
This is the most critical preparation step. You can’t just use any generic parts.
* **The Fan:** You must find the exact replacement fan for your specific laptop model. The easiest way is to open up your laptop, take out the fan, and look for a part number on a sticker. Google that part number to find a replacement. Be meticulous here; a fan that’s even slightly different won’t fit.
* **The Thermal Paste:** Don’t cheap out. A high-quality paste from a good brand can make a real difference in temperatures. You’ll also need your isopropyl alcohol and some lint-free cloths to clean off the old paste.
**Step 2: The Disassembly**
Follow the same disassembly steps as the deep clean: power down, unplug, open the case, and disconnect the battery. Ground yourself with that anti-static wrist strap. Now, you’re going to remove the entire cooling module—the fan and the heatsink assembly that sits on the CPU and GPU.
1. **Disconnect the Fan Cable:** Carefully unplug the fan’s small power connector from the motherboard. Don’t pull on the fragile wires.
2. **Unscrew the Heatsink:** This step requires extreme care. The heatsink is held down by several spring-loaded screws that will almost always be numbered. You *must* loosen them in the reverse order they are numbered (so, start with the highest number and work your way down). Don’t fully unscrew one at a time. Instead, give each screw a half-turn in the correct order, and then repeat until they’re all loose. This releases the pressure on the delicate processor evenly and prevents it from cracking.
3. **Remove the Cooling Module:** Once the screws are loose, you should be able to gently lift the whole assembly out. The old thermal paste might create some suction, so a gentle twist might be needed to break the seal.
**Step 3: The Replacement and Re-Paste**
With the cooling module out, you can perform the transplant.
1. **Replace the Fan:** The fan is usually attached to the heatsink with a few small screws. Remove them, take out the old fan, and install the new one.
2. **Clean the Old Paste:** This part is messy but vital. You need to remove every bit of the old, crusty thermal paste from both the heatsink and the surfaces of the CPU and GPU. Use a lint-free cloth and some isopropyl alcohol and gently rub it away until the surfaces are perfectly clean and shiny. Be patient.
3. **Apply New Thermal Paste:** Now it’s time for the fresh paste. Less is more here. Too much paste can actually make cooling worse. The most reliable method is the “pea-sized dot.” Squeeze a single, small dot of thermal paste, about the size of a grain of rice, onto the center of the CPU and GPU chips. That’s it. Don’t spread it. The pressure from the heatsink will spread it perfectly.
**Step 4: Reassembly and Testing**
You’re on the home stretch.
1. **Mount the Heatsink:** Carefully place the heatsink assembly back into position.
2. **Tighten the Screws:** Now, do the reverse of the disassembly. Tighten the screws following the numbered order (start with 1, then 2, etc.). Just like before, give each screw a half-turn in order, repeating the cycle until they are all snug. This ensures even pressure. Don’t crank on them; just turn until you feel resistance.
3. **Final Steps:** Reconnect the new fan’s power cable. Reconnect the internal battery. Secure the bottom cover and replace all the screws.
Now for the moment of truth. Plug it in and power it on. The first thing you should notice is the silence. Your new fan should be quiet, and the fresh paste should be doing its job. Open your temperature monitoring software and run a demanding app. You should see significantly lower temperatures than before. The fan will still spin up when it needs to—that’s its job—but it should be a smooth, controlled whoosh, not a desperate scream.
Section 5: The Zen of Laptop Maintenance – Prevention is Better Than Cure
You did it. You’ve journeyed into the heart of your machine and came out victorious. Your laptop is cool, quiet, and performing like it should. But now, it’s about maintaining that peace. Preventing the problem from coming back is way easier than fixing it. Here are the key habits to keep your laptop happy.
First, always be mindful of where you put it. Make a desk its home. Avoiding soft surfaces like beds and couches is the single most effective thing you can do to ensure good airflow. If you have to use it on your lap, get a lap desk or even just a rigid board to put underneath it.
Second, get into a routine cleaning schedule. You don’t need to do a full teardown every month. A quick blast of compressed air through the vents every six months will prevent the massive dust buildup that causes most problems. Think of it as a quick tune-up.
Third, practice good software hygiene. Regularly check for and install updates for your operating system and drivers. Be mindful of how many apps and browser tabs you have running. And once in a while, open your Task Manager or Activity Monitor just to see if anything is secretly hogging your resources.
Finally, for power users and gamers, be proactive with your thermal paste. Good quality paste can last for years, but if you’re constantly pushing your machine to its limits, planning to re-paste it every two to three years is a great way to keep it running at peak performance for its entire life.
Conclusion
That deafening roar from your laptop was never a feature. It was a symptom. A symptom of dust, of suffocation, of digital strain, or of aging hardware. We’ve gone from the simplest fix—literally just moving your laptop—to the intricate surgery of a full component replacement. You are now equipped with the knowledge to not only diagnose the source of the noise but to confidently fix it at every level. Your laptop is no longer a black box that screams at you for mysterious reasons. It’s a machine you understand, a machine you can maintain, and most importantly, a machine you can finally use in peace and quiet. You have reclaimed the silence. Enjoy it.


